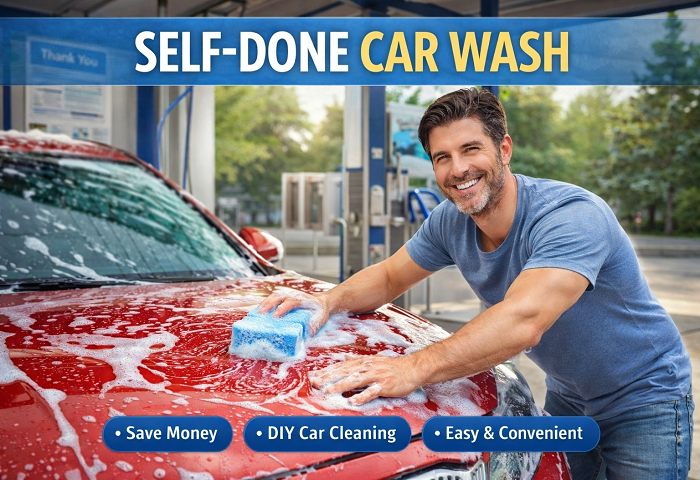
Introduction: Why a Self Made Car Wash Is the Smartest Move You Can Make
There is something deeply satisfying about stepping back and looking at a car you just cleaned with your own two hands. No drive-through tunnel. No brushes that have scrubbed a thousand other vehicles. No mystery chemicals you never agreed to. Just you, your driveway, a bucket of soapy water, and a result that would make any professional detailer nod in quiet approval.
A self made car wash is not just a money-saving exercise — although the savings are real and significant. It is a way to care for your vehicle on your own terms, using products you control, at a pace that lets you actually pay attention to what you are doing. Drive-through automated washes are convenient, but they miss spots, ignore the details, and over time they can introduce swirl marks into your clear coat that dull the finish permanently.
This guide is built for every level of car owner — the first-timer who has never held a wash mitt, the enthusiast who wants to tighten up their technique, and the budget-conscious driver who wants a showroom result without showroom pricing. By the end, you will have everything you need to run a proper self made car wash from start to finish, including homemade soap recipes, step-by-step application methods, drying techniques, and the common mistakes that cause more damage than the dirt you are trying to remove.
What Makes a Self Made Car Wash Better Than a Commercial One?
The car wash industry generates billions of dollars annually, and the business model is built on speed. A vehicle moves through a tunnel in roughly three minutes. In those three minutes, rotating brushes, high-pressure jets, and recycled water interact with your paint in ways you cannot see and do not consent to.
Here is what a self made car wash gives you that a commercial service simply cannot match.
Control over products. You choose what touches your car. No harsh detergents, no recycled wash water carrying abrasive particles from the vehicle ahead of yours, no cheap wax sprays that sit on the surface for forty-eight hours before washing away.
Attention to detail. When you wash your own car, you notice things. A small paint chip that needs touching up. A rubber seal beginning to dry out. A scratch that appeared this week. That kind of observational relationship with your vehicle helps you catch small problems before they become expensive ones.
Paint safety. The two biggest causes of swirl marks and micro-scratches in automotive paint are dirty wash media and abrasive washing technique. In a self made car wash, you control both. Clean mitts, fresh water, and proper lubrication eliminate the primary causes of wash-induced paint damage.
Cost savings. A standard drive-through wash costs $10 to $25. A premium hand wash service runs $40 to $100. The supplies for a self made car wash — bucket, wash mitt, car shampoo — cost about the same as two or three commercial washes and last for dozens of applications. The math is obvious.
Environmental mindfulness. A self made car wash lets you control your water usage and choose biodegradable, eco-friendly products. Many commercial washes use significant volumes of water and chemical runoff that flows directly into storm drains.
Homemade Car Wash Soap: What Actually Works
Before you run to the kitchen and reach for the dish soap, let us talk about what belongs on your car and what absolutely does not.
Why Dish Soap Is a Bad Idea
Dawn, Fairy, and similar dish soaps are formulated to cut through grease and food residue. They are effective at that specific job. On a car, however, that grease-cutting ability strips protective wax layers, degrades rubber seals, and can leave paint vulnerable to oxidation. Regular use of dish soap on automotive paint accelerates fading and dulling. It is one of the most commonly given pieces of bad advice in casual car care conversation.
If you are in a genuine emergency and dish soap is all you have, dilute it heavily and rinse thoroughly. But do not make it a habit.
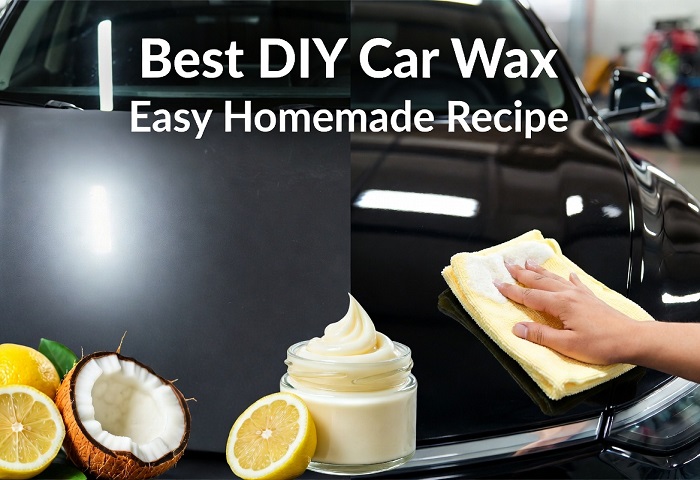
The Best Homemade Car Wash Solution Recipe
A proper self made car wash solution can be mixed at home with a few inexpensive ingredients that clean effectively without stripping protection.
Basic Homemade Car Shampoo:
- 1 gallon of warm water
- ¼ cup of baby shampoo (pH-balanced, gentle formula)
- 1 tablespoon of white vinegar (helps cut light mineral deposits and road film)
- 2 tablespoons of baking soda (mild abrasive that lifts grime without scratching)
Mix gently in your wash bucket until combined. This formula produces a mildly sudsy solution that lubricates the wash mitt properly, lifts dirt from the paint surface, and rinses cleanly without leaving residue.
Enhanced Homemade Car Wash Formula (for heavier grime):
- 1 gallon of warm water
- ¼ cup of liquid castile soap (Dr. Bronner’s or equivalent)
- 1 tablespoon of white vinegar
- 1 teaspoon of coconut oil (adds a light lubricating layer that helps the mitt glide)
Castile soap is plant-based, biodegradable, and pH-friendly for automotive clear coats. The coconut oil component is optional but helps prevent fine scratching during the wash process by adding slip to the solution.
When to Use a Commercial Car Shampoo Instead
Homemade solutions work well for regular maintenance washing. If your vehicle has heavy road salt contamination, tar spots, bug splatter, or industrial fallout, a purpose-formulated car shampoo with dedicated decontamination chemistry will do a more thorough job. Products like Meguiar’s Gold Class or Chemical Guys Citrus Wash cost a few dollars per wash when diluted properly, and they are purpose-built for exactly this task.
A good rule of thumb: use your homemade formula for routine weekly or biweekly washes, and reach for a commercial shampoo for deep cleaning sessions or after long road trips.
Equipment You Need for a Self Made Car Wash
A professional-quality self made car wash does not require expensive equipment. Here is what you need, from essential to optional but useful.
Essential Equipment
Two buckets. The two-bucket method is the single most important technique for preventing swirl marks in a self made car wash. One bucket holds your clean soapy solution. The other holds clean rinse water. Before dipping your mitt back into the soap bucket, rinse it in the plain water bucket to release dirt particles. This keeps your wash solution clean and prevents you from dragging abrasive grit across your paint.
Add a grit guard to the bottom of each bucket — a plastic grid insert that sits about two inches from the bottom and traps dirt below the wash water level. They cost about five dollars and make a noticeable difference in paint safety.
Wash mitt. A quality microfiber wash mitt or a lambswool mitt is far safer for automotive paint than a sponge. Sponges trap dirt against the paint surface, while mitts lift and suspend particles in their deep fibers, away from the contact surface. Wash your mitts after every use and replace them when they begin to shed or flatten.
Microfiber drying towels. How you dry your car matters as much as how you wash it. A plush, high-GSM (grams per square meter) microfiber drying towel lifts water from the surface rather than dragging it across. Avoid old cotton bath towels — they scratch. A good waffle-weave microfiber drying towel is one of the best investments in your self made car wash kit.
Wheel brush. Wheels collect brake dust, road grime, and tar that a wash mitt should never touch before it goes onto your paint. A dedicated wheel brush — or two, one for barrels and one for faces — keeps this highly contaminated area separate from your paint washing process.
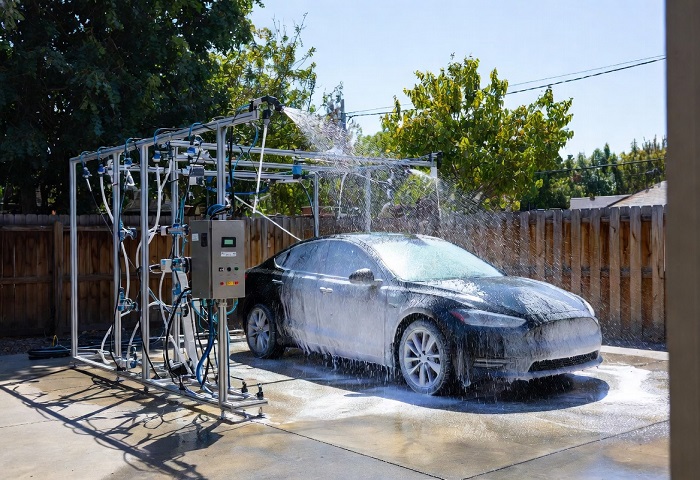
Hose with adjustable nozzle. A standard garden hose with a fan or shower spray nozzle is perfectly functional for a self made car wash. A pressure washer is a nice upgrade but not necessary. If you use a pressure washer, keep the nozzle at least twelve inches from the paint surface and avoid direct streams at panel gaps, rubber seals, and trim edges.
Useful but Optional Equipment
Foam cannon or foam gun. A foam cannon attaches to a pressure washer and produces a thick, clinging foam that pre-soaks the vehicle and loosens dirt before the mitt ever touches the paint. A foam gun attaches to a standard garden hose and produces lighter foam, but still adds a useful pre-lubrication step. Both significantly reduce the risk of contact scratching.
Detailing spray or quick detailer. A spray detailer is used during the drying phase to add lubrication, boost gloss, and remove any remaining water spots. A few spritzes on each panel before the drying towel makes the entire process safer and faster.
Clay bar. A clay bar decontaminates paint by physically removing bonded particles that washing alone cannot lift. Use it after washing and before waxing, two to four times per year, for paint that stays smooth and receptive to protection products.
Step-by-Step Self Made Car Wash Process
With your supplies ready and your homemade solution mixed, here is the full process for a self made car wash that produces professional results.
Step 1: Park in the Shade and Rinse First
Always wash your car out of direct sunlight. Sun-warmed paint causes soap to dry quickly, leaving water spots and soap residue that requires extra work to remove. Early morning or late afternoon is ideal.
Start by rinsing the entire vehicle with clean water using a gentle spray pattern. This pre-rinse removes loose dirt, dust, and debris that would otherwise be dragged across the paint during the hand wash stage. Work from the roof down, letting water carry contamination away from the panels.
Step 2: Clean the Wheels First
Wheels are the dirtiest part of the car, coated in brake dust, road tar, and grime. Clean them before touching the paint so you are not carrying wheel contamination to your mitts or rinse water. Use your dedicated wheel brush with a diluted all-purpose cleaner or a purpose-formulated wheel cleaner. Rinse thoroughly before moving to the paint.
Step 3: Apply Foam or Pre-Soak (Optional but Recommended)
If you have a foam gun or foam cannon, apply a thick coat of foamy shampoo solution to the entire vehicle at this stage. Let it dwell for two to three minutes. The foam penetrates and loosens surface contamination, giving your wash mitt less work to do and dramatically reducing the chance of scratching.
If you do not have a foam applicator, skip to the hand wash stage. The two-bucket method provides sufficient safety on its own.
Step 4: Hand Wash Using the Two-Bucket Method
Load your microfiber wash mitt with your homemade car wash solution and begin washing from the roof down. Roof first, then windows, then the upper body panels, then the lower panels and sills. Lower panels carry the most road contamination and are done last so that grit from that area does not get carried up to cleaner panels.
Use straight, overlapping strokes rather than circular scrubbing motions. Circular wiping concentrates friction and is the primary cause of circular swirl marks visible in direct sunlight. Straight lines, if they produce any marks at all, are far less visible.
After each panel, rinse your mitt thoroughly in the dedicated rinse bucket, wring gently, reload with soap solution, and continue. Never let the mitt touch the ground — a single contact with concrete or gravel loads it with particles that will scratch paint immediately.
Step 5: Final Rinse
Once all panels are washed, do a thorough final rinse from the top down. Remove your nozzle and let water sheet off the paint in a continuous flow — this “sheet rinse” technique reduces the number of individual water droplets left on the surface and speeds drying. Pay particular attention to panel gaps, mirror housings, door handles, and the fuel cap area where soapy water can pool.
Step 6: Dry Immediately
Do not let your car air dry. Air drying leaves mineral deposits from tap water — the white spots that look terrible on dark paint. Dry the car immediately using your plush microfiber drying towel.
Work panel by panel, laying the towel flat and dragging it gently across the surface rather than pressing and wiping. If using a detailing spray, mist each panel lightly before running the towel across it. This adds lubrication and boosts the final gloss.
Dry the door jambs, trunk seal, and hood seal areas with a smaller microfiber cloth. These areas trap water that drips onto freshly dried panels when you open a door — a frustrating final step to undo if skipped.
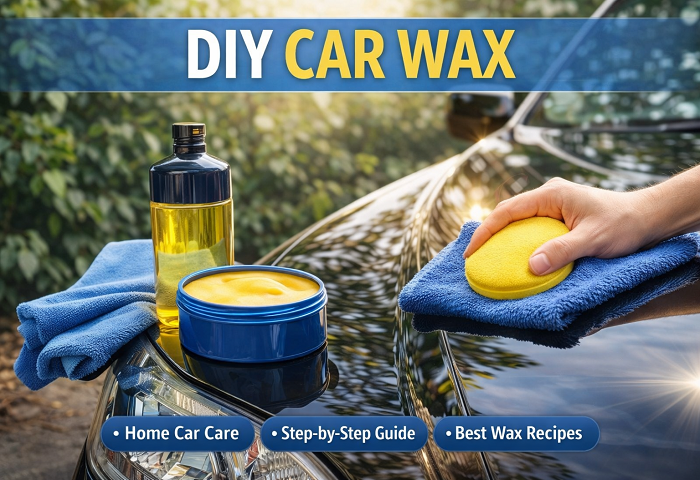
Step 7: Dress Trim and Apply Wax or Sealant
A complete self made car wash ideally finishes with protection. At minimum, apply a spray wax or spray sealant to lock in the clean finish and add a water-repellent layer that makes your next wash easier. For deeper protection, apply a paste or liquid wax every six to eight weeks using the application method detailed in your chosen product’s instructions.
Apply a trim dressing to any black plastic or rubber surfaces. Washing strips the oils from plastic trim, causing it to look grey and faded. A trim restorer refreshes the color and adds UV protection that extends the trim’s life significantly.
Common Self Made Car Wash Mistakes That Damage Paint
Even a well-intentioned self made car wash can go wrong. These are the errors that cause the most damage.
Using one bucket. Single-bucket washing reintroduces dirt to the paint with every mitt reload. The two-bucket method is non-negotiable for paint-safe washing.
Washing in circles. Circular scrubbing motion creates circular swirl marks visible in direct sunlight. Use straight, overlapping strokes at all times.
Using the wrong towels. Old cotton bath towels, paper towels, and chamois leathers all scratch automotive clear coats. Use only microfiber for washing and drying.
Letting soap dry on the paint. Wash and rinse panel by panel in warm weather if needed. Dried soap leaves residue that is difficult to remove and can etch into clear coat with prolonged exposure.
Washing the wheels last. Brake dust and wheel grime contaminate your mitt and water. Always clean wheels first, with dedicated equipment kept entirely separate from your paint washing kit.
Skipping the shade. Washing in direct sunlight is one of the most common self made car wash mistakes. It causes premature drying, uneven soap distribution, and water spotting. Find shade or time your wash for early morning or evening.
Eco-Friendly Self Made Car Wash Tips
A self made car wash is already more environmentally thoughtful than most commercial operations, but a few additional steps make your wash genuinely green.
Wash your car on a gravel or grass area rather than directly on concrete. Gravel and soil filter and absorb wash water naturally. Concrete runoff flows directly to storm drains, carrying soap and contaminants into waterways.
Choose biodegradable, plant-based soaps like castile soap in your homemade formula. These break down naturally without harmful residual chemicals.
Use a bucket wash rather than a running hose. A thorough self made car wash using the two-bucket method requires as little as eight to twelve gallons of water. A running garden hose uses the same volume in under two minutes. Pre-fill your buckets and use the hose only for the initial rinse and final rinse.
Consider a waterless or rinseless car wash product for lightly soiled vehicles. Products like Optimum No Rinse or Chemical Guys Rinse Free require minimal water, produce excellent results on moderately dirty paint, and are genuinely eco-friendly alternatives for in-between maintenance washes.
How Often Should You Do a Self Made Car Wash?
The right washing frequency depends on where you live, how you drive, and how you store your vehicle.
Weekly washing is appropriate for daily drivers in urban or coastal environments. City driving deposits more exhaust fallout and industrial contamination. Coastal air carries salt that accelerates corrosion if left on paint.
Biweekly washing suits suburban and rural drivers with mild weather and garage storage. Less environmental exposure means contamination builds more slowly.
After every off-road trip or rainy season regardless of your regular schedule. Mud, salt spray from winter roads, and tree sap are aggressive contaminants that should be removed promptly.
Avoid over-washing. More washing is not always better. Excessive washing without proper lubrication and clean media increases the cumulative risk of fine scratches. A quality wax or sealant between washes reduces the amount of washing needed by making the surface easier to clean.
Self Made Car Wash vs. Professional Hand Wash: The Real Comparison
A professional hand car wash from a reputable detailer costs $40 to $80 depending on vehicle size and location. They use commercial-grade equipment, professional-grade products, and years of technique refinement. For a thorough detail twice a year, this investment makes sense.
For weekly maintenance washing, a self made car wash is unambiguously better for your wallet, your paint, and your peace of mind. You control the products, the technique, the water quality, and the care level. No one will ever care for your car the way you do when it is your own hands doing the work.
The hybrid approach most enthusiasts adopt: self made car wash for routine maintenance, professional detail for deep correction and protection two to three times per year. This combination gives you both cost efficiency and the periodic expert attention that keeps your finish at its absolute best.
Final Thoughts: Your Self Made Car Wash Is Better Than You Think
The tools are simple. The technique is learnable in a single afternoon. The results — once you have done it correctly even once — are genuinely impressive. A self made car wash is one of the most practical skills a car owner can develop, and it pays dividends every single time you pull into traffic and catch your reflection in a shop window.
Mix your homemade solution. Fill your two buckets. Grab a clean mitt. Start at the roof and work your way down. Dry it immediately, dress the trim, lay down a coat of wax, and stand back.
That shine is entirely yours.