Introduction
Every car owner knows the feeling — you pull out of a muddy road, drive through a dusty highway, or park under a tree full of birds, and suddenly your once-shiny vehicle looks like it belongs in a scrap yard. Heading to a commercial car wash seems like the easiest fix, but those trips add up fast, both in time and money. There is a smarter, cheaper, and far more satisfying alternative waiting right in your driveway.
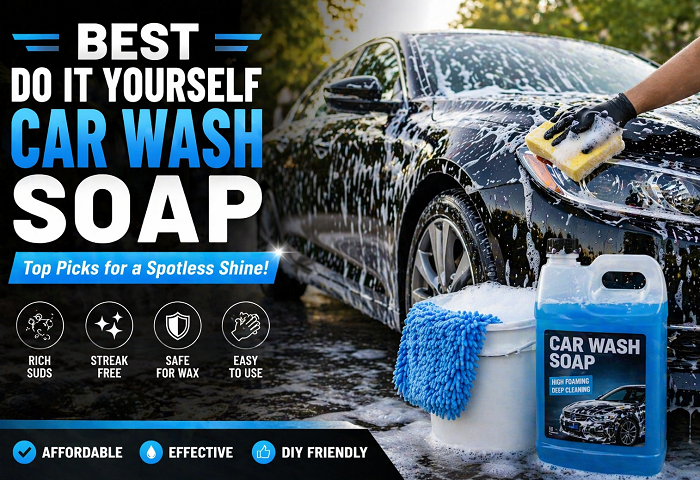
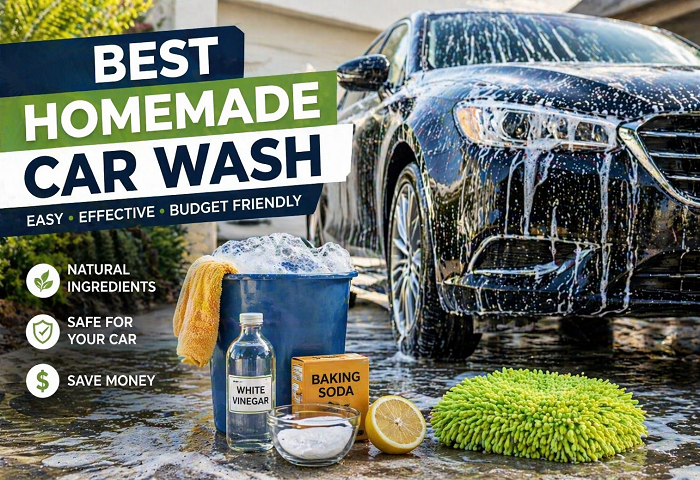
Here is the good news: the best homemade car wash solutions work just as well — sometimes even better — than anything you find at a professional wash station. With a few common household ingredients and the right technique, you can give your car a showroom-quality clean from the comfort of home.
In this complete guide, we are going to walk through everything you need to know about the best homemade car wash methods. From mixing your own car wash soap to applying a perfect rinse-free spray, this article covers it all. Whether you are a first-timer or a seasoned DIY detailer looking for a better formula, you will find exactly what you need right here.
If you have been searching for the best homemade car wash that is safe, affordable, and genuinely effective, you are in exactly the right place. Let us get started.
Why Choose a Homemade Car Wash Over a Commercial One?
Before we dive into recipes and techniques, it is worth understanding why so many car owners are switching to homemade solutions in the first place. The best homemade car wash is not just a budget-saving hack — it is a smarter, more sustainable approach to keeping your vehicle clean year-round.
1. It Saves You Serious Money
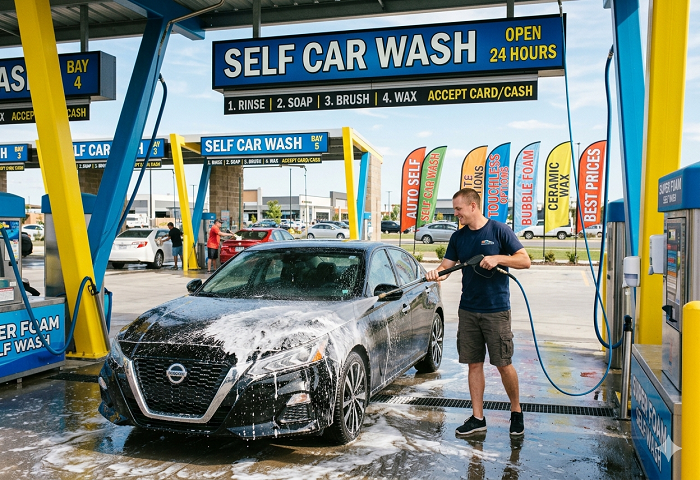
A single trip to an automatic car wash can cost anywhere from $10 to $30 or more, depending on the package you choose. If you wash your car twice a month, that is anywhere from $240 to $720 per year — just on keeping your car clean. The best homemade car wash recipes use ingredients you likely already have in your kitchen or laundry room, bringing that annual cost down to almost nothing.
2. You Have Full Control Over Ingredients
When you mix your own solution, you know exactly what is going on your vehicle. Many commercial car washes use harsh chemicals that can strip your car’s wax coating, fade paint over time, or damage rubber trim. A carefully formulated DIY solution lets you protect your paint while still cleaning effectively and thoroughly.
3. It Is Better for the Environment
Traditional car wash soaps often contain phosphates, surfactants, and other chemicals that harm local waterways when they wash off into storm drains. A natural, eco-friendly homemade formula is far gentler on the environment, and you can control your water usage far more carefully when working at home.
4. Convenience at Your Doorstep
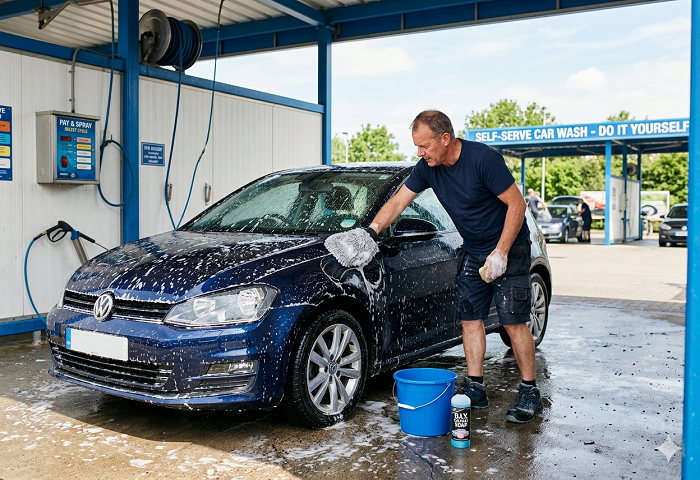
There is no driving anywhere, no waiting in line, and no sitting in a queue behind five other cars on a Saturday morning. With the best homemade car wash setup ready in your own driveway, you can wash your car on your own terms — whenever you have a spare thirty minutes to spare.
What You Need Before You Start
Getting great results starts with having the right supplies on hand. Here is a basic checklist for your best homemade car wash setup:
- Two clean buckets (the two-bucket method is essential — one for soapy water, one for clean rinse water)
- Microfiber wash mitts or ultra-soft sponges
- Microfiber drying towels (at least two large ones)
- A garden hose with an adjustable spray nozzle
- A wheel brush or old toothbrush for tight spaces
- Your chosen homemade car wash soap formula (recipes below)
- A shaded area to work in (direct sunlight causes soap to dry too fast, leaving streaks)
Avoid paper towels, regular sponges, or rough cloths at all costs — these can create tiny scratches in your paint, especially on darker-colored vehicles. Microfiber is your best friend when it comes to scratch-free car cleaning at home.
The Best Homemade Car Wash Soap Recipes
Now for the part everyone is here for — the actual formulas. These are tried-and-tested best homemade car wash soap recipes that car enthusiasts around the world swear by for a brilliant, streak-free shine without spending a fortune.
Recipe 1: The Classic Dish Soap and Borax Formula
This is one of the oldest and most trusted formulas in the best homemade car wash world. It cuts through grease, road grime, and dried-on bug splatter with impressive ease.
Ingredients:
- 1 cup of liquid dish soap (fragrance-free if possible)
- 1/2 cup of borax powder (found in the laundry aisle at most supermarkets)
- 1 gallon of warm water
How to Make It: Combine the borax and warm water first, stirring until the borax fully dissolves. Then add the dish soap and stir gently — you do not want too many bubbles before you start washing. Pour the solution into one of your buckets and you are ready to get to work.
Why It Works: Borax is a mild abrasive that lifts stubborn dirt particles, while the dish soap breaks down oily residue, tar spots, and bird droppings with ease. Together, they create one of the most reliable best homemade car wash combos for heavy-use vehicles.
Important Note: Dish soap strips protective wax from your paint. After using this formula, always reapply a layer of car wax afterward. Use this recipe no more than once a month if you wax your car regularly.
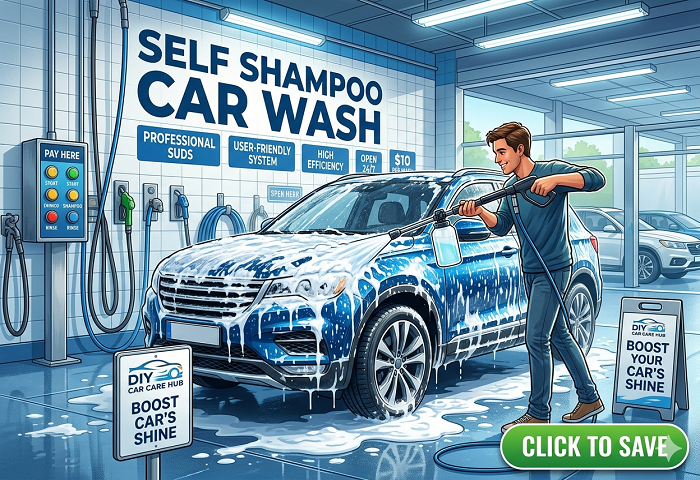
Recipe 2: Baby Shampoo Wash for Sensitive Paint
If you have a newer vehicle or a high-end paint job you want to protect, you need something gentler. Baby shampoo is one of the most underrated ingredients in the DIY detailing world and forms a brilliant best homemade car wash option for delicate finishes and freshly coated surfaces.
Ingredients:
- 3 tablespoons of baby shampoo
- 1 gallon of warm water
- A few drops of white vinegar (optional — helps prevent water spots in hard-water areas)
How to Make It: Mix the baby shampoo and warm water in your wash bucket. Add a few drops of white vinegar if you live in an area with hard water, as this helps prevent frustrating white mineral deposits from forming on your paint as it dries.
Why It Works: Baby shampoo is pH-balanced and incredibly gentle, making it an ideal homemade car shampoo for cars with delicate clear coats, fresh paint jobs, or full vinyl wraps. It produces just enough lather to lift light surface dirt without stripping any protective wax layers. When you want the best homemade car wash for a brand-new or freshly detailed car, this recipe is always your safest bet.
Recipe 3: Castile Soap and Baking Soda for Heavy Grime
After a long road trip, a muddy off-road adventure, or a week of outdoor parking in a construction zone, you need something that handles genuinely serious dirt. This DIY car wash solution uses plant-based Castile soap combined with a light baking soda boost, and it ranks as one of the best homemade car wash options when your vehicle is truly caked with thick grime.
Ingredients:
- 1/4 cup of liquid Castile soap (Dr. Bronner’s is the most popular choice)
- 2 tablespoons of baking soda
- 1 gallon of warm water
How to Make It: Dissolve the baking soda in the warm water completely before adding anything else. Then add the Castile soap and stir gently. The baking soda acts as a mild mechanical abrasive to loosen caked mud and dried debris, while the Castile soap emulsifies everything so it rinses completely clean without leaving a film.
Why It Works: Castile soap is plant-based and fully biodegradable, making this one of the most eco-friendly natural car cleaner options available anywhere. It is also safe on rubber trim, plastic bumpers, chrome accents, and glass — making it a true all-surface wash solution.
Recipe 4: The Waterless Car Wash Spray
Not every wash has to involve buckets, hoses, and a full outdoor setup. If you live in an apartment, face seasonal water restrictions, or just need a quick freshening between full washes, a waterless spray is the answer. This version of the best homemade car wash is built for car owners who need a fast, no-fuss solution without any major setup.
Ingredients:
- 2 cups of distilled water
- 1 tablespoon of liquid Castile soap
- 1 tablespoon of isopropyl rubbing alcohol
- 5 drops of essential oil (optional, purely for a pleasant scent)
- A clean spray bottle
How to Make It: Combine all ingredients in your spray bottle and shake gently to combine. Mist the solution onto small sections of the car one at a time, then immediately wipe clean with a microfiber cloth using straight wiping motions — never circular strokes — to avoid swirl marks in the surface.
Why It Works: The alcohol helps the formula flash-dry quickly and cut through light surface grime, while the Castile soap lifts and encapsulates the dirt so you can wipe it away safely without scratching. This is not designed for heavily soiled vehicles, but for a quick mid-week touch-up or between-wash freshen, it is genuinely hard to beat.
Step-by-Step Guide: How to Do the Best Homemade Car Wash
Having a great formula is only half the battle. The technique you use matters just as much as what is in your bucket. Follow these steps every single time you complete your best homemade car wash routine for professional-grade, paint-safe results.
Step 1: Rinse the Car Thoroughly First
Before you touch the car with any cloth or mitt, rinse the entire vehicle thoroughly with water from top to bottom. This removes loose dirt, dust, and grit that could scratch the paint surface if dragged across it with your wash mitt. Pay special attention to wheel wells, under the bumpers, and around door handles — these areas trap the most embedded grime.
Step 2: Set Up the Two-Bucket System
Fill one bucket with your chosen homemade car wash soap and the second bucket with plain clean water. This is the single most important habit in any best homemade car wash session, and it is genuinely non-negotiable. Every time you dip your wash mitt back into soapy water without rinsing it first, you drag the dirt you just collected right back onto your paint. The second rinse bucket keeps all that contamination safely away from your clean soapy water.
Step 3: Wash from Top to Bottom
Always start at the roof and work your way down toward the rocker panels. The lower sections of the car collect the most grime, and you do not want to drag that contamination back up over freshly cleaned upper panels. Wash in straight lines or gentle overlapping passes — never in circular scrubbing motions — to prevent swirl marks.
Rinse your mitt thoroughly in the clean water bucket, wring it out, and reload it with soapy water after completing each panel before moving to the next. Be patient and methodical — rushing this step is how fine surface scratches are created.
Step 4: Pay Extra Attention to the Wheels
Wheels collect brake dust, road tar, and thick grease that require significantly more scrubbing effort than your body panels. Use a dedicated wheel brush dipped in your homemade car wash soap to work deep into the spokes, around the lug nuts, and into the inner barrel of each wheel. The best homemade car wash results consistently come from treating each zone of the car with dedicated, purpose-specific tools — never use your paint mitt on your wheels.
Step 5: Final Full Rinse
Once you have washed every panel completely from top to bottom, give the entire car a thorough final rinse. Use a gentle wide-angle spray setting on your hose nozzle rather than a direct pressure jet to avoid forcing water into tight seals. Let the water sheet naturally off the surface — this is known as a flood rinse and it significantly reduces the chance of water spots.
Step 6: Dry Immediately and Completely
Never let the car air dry on its own after rinsing. Air drying leads to stubborn water spots, especially in areas with high-mineral hard water. Use large, clean, dry microfiber towels and pat-dry in sections rather than dragging the cloth. A purpose-built car leaf blower or forced-air dryer is excellent for blasting water out of door jambs, side mirror housings, and trim crevices.
Step 7: Apply Wax or Sealant to Finish
If your best homemade car wash formula included dish soap or borax, your paint’s wax protection layer has likely been stripped away during the wash. After fully drying the car, apply a quick detailer spray or a thin, even coat of carnauba paste wax to restore that protective barrier. This finishing step is what delivers the deep, glossy shine you see on professionally detailed vehicles.
Pro Tips for the Best Homemade Car Wash Results
These tips come straight from experienced DIY detailers who have been doing car washing at home for years. Apply them every time you work through this process to consistently elevate your results from good to genuinely great.
Always Wash in the Shade
Sunlight heats the car’s metal surface and causes soap and water to evaporate before you can rinse them off, leaving behind streaks and white residue. Always park in shade or schedule your wash for early morning or late evening. This single habit alone will dramatically improve your finished result every single time.
Use Lukewarm Water — Never Hot
Hot water combined with a sun-heated car surface can cause micro thermal shock to your paint, particularly on older vehicles with a compromised clear coat. Stick to room temperature or slightly warm water for the safest and most effective wash every time.
Never Use Steel Wool or Abrasive Scrubbers
Even when dealing with stubborn road tar, dried tree sap, or paint overspray, resist any urge to use anything more abrasive than what is called for in these recipes. For sticky contaminants, use a detailing clay bar or apply a small amount of isopropyl alcohol with a folded microfiber cloth for targeted spot treatment.
Add a Drop of Olive Oil for Extra Shine
Here is a little trick from the car detailing at home community — a single drop of olive oil added to your final rinse bucket gives the paint a subtle, natural depth and warmth that closely mimics a freshly waxed finish. Do not use more than one drop, or you risk leaving a visible oily haze across the surface.
Wash Your Microfiber Products After Every Use
Dirty mitts and towels carry abrasive particles embedded from the previous wash that will scratch your paint on the next session. Wash all microfiber products in warm water with a fragrance-free, dye-free laundry detergent and always air dry. Never put microfiber in a tumble dryer — high heat breaks down the fiber structure and strips away the cleaning properties over time.
Common Mistakes People Make with a Homemade Car Wash
Even experienced DIYers slip up sometimes. Here are the most common errors to avoid when running your best homemade car wash routine at home:
Using too much soap: More soap does not equal more clean. Excess suds are harder to fully rinse off and leave behind a dull, cloudy film across the paint surface. Stick precisely to the measurements listed in each recipe.
Skipping the pre-rinse: Going straight to scrubbing without pre-rinsing the vehicle first drags loose grit directly across your paint finish. This is the leading cause of fine surface scratches on home-washed cars everywhere.
Washing in direct sunlight: As covered above, this causes streaking, dried soap residue deposits, and mineral water spots. Always choose a shaded location for your wash area without exception.
Using one bucket only: The single-bucket method simply recirculates dirty contaminated water back onto your car with every dip of the mitt. Always run the full two-bucket system — no exceptions ever.
Letting water air dry: Mineral deposits from air-dried water can bond stubbornly to your paint surface and are very difficult to remove once set. Always dry the car immediately and completely after the final rinse.
Using the same cloth on wheels and paint: Brake dust, road tar, and wheel grime are highly abrasive. Cross-contaminating your paint cloth with wheel debris is a guaranteed way to put deep, visible scratches across your bodywork panels.
How Often Should You Do a Homemade Car Wash?
The frequency of your best homemade car wash routine depends on how much you drive, where you drive, and how the vehicle is stored between washes. Here is a practical general guide most detailers recommend:
- Weekly wash: Ideal for daily drivers in urban, coastal, or high-dust environments, or anyone who parks outdoors without shelter
- Bi-weekly wash: Great for moderate-use vehicles driven mainly on sealed, well-maintained roads with covered parking
- Monthly wash: Suitable for weekend-use cars or lightly driven vehicles stored in a garage between outings
Between full washes, keep your waterless spray formula ready for quick touch-ups. This maintains a consistently clean appearance without over-washing, which can gradually wear down wax coatings and protective clear coat layers over repeated sessions.
Is the Best Homemade Car Wash Safe for All Vehicles?
The short answer is yes — when you choose the right recipe for your specific vehicle type and finish. Every formula listed in this guide is designed to be gentle on standard automotive paint, rubber trim, plastic fascias, chrome accents, and glass surfaces alike.
Here are a few specific paint-type considerations worth keeping in mind before you start:
Matte paint finishes: Avoid any recipe containing baking soda, as even mild abrasives can disturb the flat, non-reflective texture that defines matte paint. Stick exclusively to the baby shampoo formula or a purpose-made matte-safe waterless spray solution.
Full vinyl wraps: Both the baby shampoo and Castile soap recipes are completely safe for vinyl. Avoid anything containing high concentrations of alcohol or borax powder, as these can gradually lift wrap edges and cause adhesion failure over time.
Older vehicles with a compromised clear coat: Handle these cars with extreme care and always use the mildest recipe available. Aggressive formulas can significantly accelerate paint damage in areas where the clear coat is already peeling, cracking, or flaking.
Convertible fabric soft tops: Use a well-diluted Castile soap solution applied gently with a soft-bristled brush. Never use dish soap on convertible fabric roofs — it dries the fabric out and causes premature cracking, fading, and brittleness.
The Final Word on the Best Homemade Car Wash
There is something genuinely satisfying about stepping back and looking at a spotlessly clean car that you washed with your own hands. Not only does it look incredible, but you also know exactly what went on that paint — no mystery chemicals, no overpriced packages, no strangers dragging rough brushes across your finish.
The best homemade car wash is not complicated, and it does not require expensive equipment or a garage full of professional-grade products. A well-chosen formula, the right two-bucket technique, quality microfiber tools, and a little patience are genuinely all you need. Whether you go with the classic dish soap and borax blend for heavy grime days, the gentle baby shampoo formula for regular upkeep, or the waterless spray for a quick mid-week freshen-up, your car will consistently look its absolute best.
Start with one of the recipes in this guide, build the two-bucket habit from day one, and settle into a routine that fits your schedule naturally. Once you master car washing at home with these tested methods, you will wonder why you ever paid someone else to do something this rewarding.
Frequently Asked Questions
Q: Can I use regular dish soap as a homemade car wash soap? Yes, but use it carefully and sparingly. Dish soap is effective at removing grease, road grime, and oily residue, but it also strips away your car’s protective wax layer. Use it for a deep clean once a month at most, and always reapply car wax afterward to restore paint protection.
Q: What is the best homemade car wash solution for removing bird droppings? Bird droppings are highly acidic and should be removed as quickly as possible to prevent paint etching. A targeted spray of diluted white vinegar (1 part vinegar to 3 parts water) applied gently with a clean microfiber cloth works extremely effectively. Allow it to dwell for about 30 seconds before wiping softly to lift the residue cleanly.
Q: Is vinegar safe to use in a homemade car wash solution? In diluted form, absolutely. Undiluted vinegar can damage paint surfaces over prolonged or repeated exposure, but when mixed correctly into a wash formula or used as a diluted spot treatment, it is completely safe for glass, chrome, and standard automotive paint finishes.
Q: How do I remove stubborn hard water spots with a homemade solution? Mix equal parts white vinegar and distilled water in a spray bottle. Apply directly to the affected areas and allow it to dwell for two to three minutes. Then gently wipe with a clean microfiber cloth and follow with a full rinse and immediate dry to prevent any vinegar residue from sitting on the paint.
Q: Can I use my homemade car wash soap in a foam cannon? Yes, with a little experimentation on ratios. The baby shampoo and Castile soap recipes both generate reasonable foam in most entry-level foam cannons. You may need to adjust the soap-to-water dilution ratio slightly depending on your specific cannon model and local water pressure.