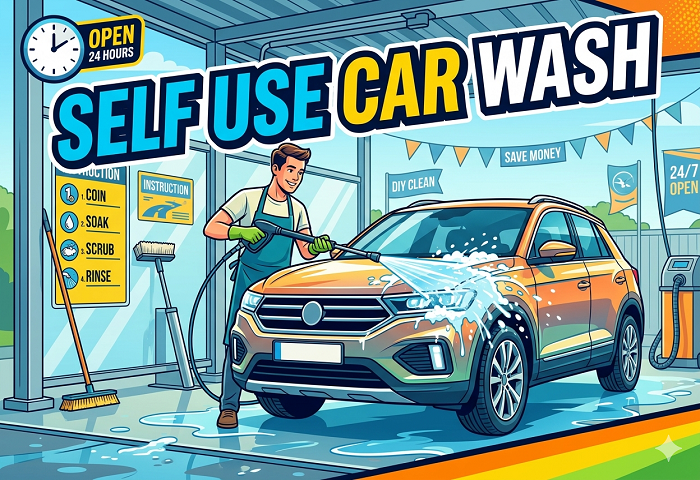
Introduction: Why a Self Shampoo Car Wash Is Worth Every Drop
Let’s be honest — nothing feels better than driving a clean, shiny car. But paying for a commercial car wash every week adds up fast, and those automatic tunnel washes? They can actually scratch your paint more than they help. That is exactly why more and more car owners are turning to the self shampoo car wash method at home.
A self shampoo car wash is not just about saving money, though that is a big bonus. It is about having complete control over the products you use, the pressure you apply, and the level of attention your vehicle actually gets. Whether you own a brand-new SUV or a ten-year-old daily driver, learning how to properly shampoo your car at home is one of the best habits you can build.
In this guide, we will walk you through everything from the right products to buy, to the step-by-step process of a perfect self shampoo car wash, plus pro tips that most people skip. By the end, your car will look like it just rolled out of a professional detailing shop — and you’ll have done it entirely on your own terms.
What Is a Self Shampoo Car Wash, and Why Does It Matter?
A self shampoo car wash means using a dedicated automotive shampoo — not dish soap, not household cleaners — to manually wash your vehicle either at home or at a self-service car wash bay. The key difference between this and a regular rinse is the chemical action of the shampoo itself, which breaks down dirt, road grime, bird droppings, and light grease without stripping the protective wax or sealant on your paint.
Many car owners make the mistake of using whatever soap is available under the kitchen sink. Dish soap is formulated to cut through grease aggressively, which sounds good, but it will also strip away your car’s wax protection, leaving the clear coat vulnerable to UV damage, oxidation, and contaminants. A quality self shampoo car wash product, on the other hand, is pH balanced and paint-safe, meaning it cleans thoroughly without doing harm.
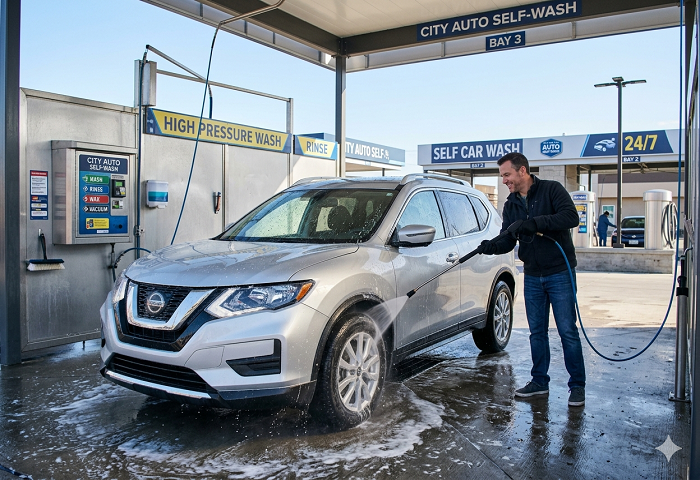
The rise of the self-service car wash station has also made this process even more accessible. Many stations now offer foam lances, hot water, and multiple wash bays where you can bring your own shampoo and do the job properly. Whether you choose a professional bay or your own driveway, the technique is the same.
Choosing the Right Shampoo for Your Self Car Wash
Not all car shampoos are created equal. Walk into any auto parts store or browse online and you will find dozens of options. Here is what to look for when picking a product for your self shampoo car wash routine:
pH Neutral Formula A pH neutral car shampoo sits in the safe zone — not too acidic and not too alkaline. This means it will not damage your paint’s protective layers, whether that is a basic wax, a ceramic coating, or a paint protection film. Brands like Meguiar’s Gold Class, Chemical Guys Honey Dew Snow Foam, and Turtle Wax Hybrid Solutions are popular choices that tick this box.
High Lubricity Lubricity refers to how slick the shampoo makes the wash water feel. High lubricity means your wash mitt glides over the surface without dragging particles across the paint — which is one of the most common causes of fine scratches and swirl marks.
Foaming Action Good foaming action is essential. The foam helps suspend dirt particles off the paint surface so your mitt does not grind them in. If you are using a foam cannon attached to a pressure washer, you want a shampoo that is compatible and produces a thick, clinging foam. This is the “snow foam” technique that detailing enthusiasts love.
Rinse-Off Ability The shampoo should rinse off cleanly without leaving a residue or streaks. Always check product reviews for comments on how easily the formula rinses off, especially if you are working in direct sunlight where the water can dry too fast.
Concentrate vs. Ready to Use Most quality car shampoos are concentrates you mix with water. A 500ml bottle might yield 20 to 40 washes when properly diluted. This makes them more economical in the long run than buying a ready-to-use spray bottle.
Tools and Equipment You Need for a Self Shampoo Car Wash
Before you even open the shampoo bottle, gather the right gear. Using the correct tools is half the battle in a proper self shampoo car wash.
Two Buckets The two-bucket method is the gold standard for a self shampoo car wash. One bucket holds your shampoo and water mixture (the wash bucket), and the other holds clean water for rinsing your mitt (the rinse bucket). Before reloading your mitt with soapy water, you dunk it in the rinse bucket first. This simple trick prevents dirt from contaminating your wash solution and going back onto the car.
Grit Guards Place a grit guard at the bottom of each bucket. These plastic grids trap dirt and grit below the waterline so they do not circulate back up when you agitate the water. An inexpensive addition that makes a significant difference.
Microfiber Wash Mitt Forget old sponges. A high-quality microfiber wash mitt or a lambswool mitt has thousands of tiny fibers that lift and trap dirt away from the paint surface. They also hold more soap, reducing how often you need to re-load between panels.
Pressure Washer or Garden Hose with High-Flow Nozzle A pressure washer (ideally 1200–1500 PSI for home use) makes the pre-rinse and final rinse steps dramatically more effective. If you do not have one, a garden hose with a strong adjustable nozzle will work, though you will need to be more thorough with your pre-rinse stage.
Foam Cannon (Optional but Excellent) A foam cannon attaches to your pressure washer and creates a thick layer of shampoo foam over the entire car before you even touch it. The foam dwells on the surface and loosens the bulk of the dirt so your wash mitt does the lighter work.
Microfiber Drying Towels Never let your car air dry. Water spots form when mineral-rich tap water evaporates on paint. A large, plush microfiber drying towel (or a waffle-weave drying towel) absorbs water quickly without scratching.
Wheel Brushes and Lug Nut Brushes Wheels collect brake dust, which is one of the hardest contaminants to remove. Dedicated wheel brushes — both a large barrel brush and a smaller lug nut brush — make the self shampoo car wash process complete, not just a surface-level clean.
Step-by-Step: How to Do a Self Shampoo Car Wash at Home
Now let’s get into the actual process. Follow these steps for a scratch-free, professional-level result every time.
Step 1: Work in the Shade and at the Right Time
Start in a shaded area — a garage, a carport, or at least a spot out of direct sunlight. Hot surfaces cause water and shampoo to dry too quickly, leaving spots and making the process harder. Early morning or late afternoon is ideal.
Make sure the car has not been driven in the last 30 minutes. A hot engine bay and hot bodywork panels expand slightly and can react differently with water temperature. Allow the vehicle to cool before starting your self shampoo car wash.
Step 2: Pre-Rinse the Entire Car
Using your pressure washer or hose, rinse the entire vehicle from top to bottom. This knocks off loose dirt, dust, leaves, bird droppings, and road debris. Pay extra attention to the lower panels, wheel arches, and behind the side mirrors — areas where grit hides.
Do not skip this step. Beginning the shampoo stage on a dry or lightly rinsed car guarantees swirl marks because loose particles become abrasive between your wash mitt and the paint.
Step 3: Pre-Wash the Wheels
Before you start on the body, tackle the wheels first. Apply your wheel cleaner or diluted car shampoo to each wheel, let it dwell for 1–2 minutes, and agitate with your wheel brushes. Rinse thoroughly. You do this first so that brake dust and wheel grime do not splash back onto clean bodywork later.
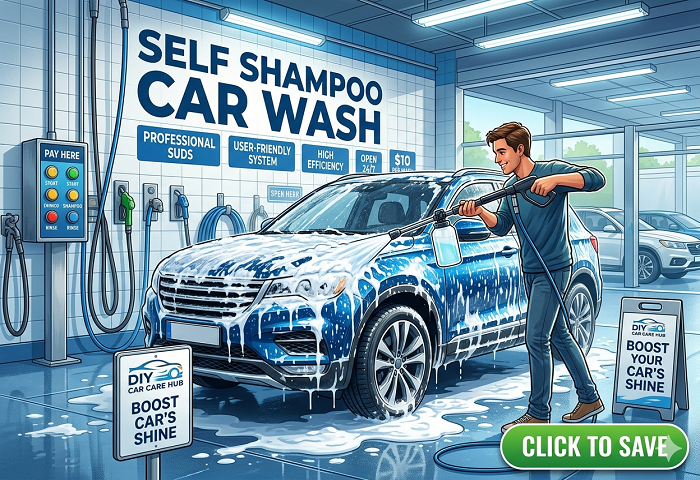
Step 4: Apply Foam (If Using a Foam Cannon)
If you have a foam cannon, this is where it earns its keep. Load the cannon reservoir with a diluted mix of your chosen car shampoo and water (typically a 1:10 to 1:15 ratio depending on the product), attach it to the pressure washer, and coat the entire car from bottom to top with a thick layer of foam.
Let the foam dwell for 3 to 5 minutes. You will see it start to run down the panels, taking loosened dirt with it. Do not let it dry completely on the paint.
If you are not using a foam cannon, simply mix your shampoo and water in your wash bucket at this stage.
Step 5: The Two Bucket Hand Wash
This is the heart of the self shampoo car wash method. Starting at the roof (always wash from the cleanest areas to the dirtiest), load your microfiber mitt with the soapy solution and work in straight, overlapping lines rather than circular motions. Circular motions create swirl marks. Straight lines are the professional approach.
After each panel — roof, hood, trunk lid, doors — rinse your mitt in the clean rinse bucket, agitate it against the grit guard to release trapped dirt, and then reload from the wash bucket. This consistent rinse-reload rhythm is the entire point of the two-bucket method.
Work your way down the car section by section: roof → windows and pillars → hood and trunk → upper doors and fenders → lower doors and sills → bumpers.
The lower panels and rocker sills are the dirtiest. Always wash these last to avoid contaminating your mitt and dragging grit back up onto the cleaner upper panels.
Step 6: Final Full Rinse
Once you have shampooed the entire vehicle, do a thorough top-to-bottom rinse with your hose or pressure washer. Hold the nozzle at a wider angle for this stage — you want volume and flow, not intense pressure that might force water under trims or through rubber seals. Rinse until every trace of foam and shampoo is gone.
A useful trick here: for the final few seconds of rinsing, remove the nozzle entirely and let a free-flowing “sheet” of water run over the panels. This sheeting action reduces the amount of water droplets left behind, making drying faster and easier.
Step 7: Dry Immediately and Thoroughly
Do not walk away and let the car drip-dry. Work quickly with your large microfiber drying towel. Start at the roof and pat/blot the surface rather than wiping in long drags, which can trap any remaining debris and create fine scratches. Unfold the towel as sections become saturated so you are always using a dry surface.
A detailing air blower (essentially a powerful leaf blower designed for car detailing) is fantastic for blasting water out of mirrors, door handles, grills, and panel gaps where water loves to hide and drip out later — ruining your otherwise perfect self shampoo car wash result.
Common Mistakes to Avoid in a Self Shampoo Car Wash
Even experienced DIYers fall into these traps:
Using Dish Soap or Multi-Purpose Cleaners — As mentioned, these strip wax and protective coatings. Always use a dedicated automotive shampoo formulated for vehicle paint.
Washing in Direct Sunlight — Rapid evaporation leaves water spots and streaks. The shampoo also dries before you can rinse it properly.
Using One Bucket Only — Without a separate rinse bucket, you are recirculating dirt right back onto your car with every mitt reload.
Applying Too Much Pressure Washer Pressure — Anything over 2000 PSI directed at close range can lift edges of vinyl wraps, damage rubber seals, and even strip soft paint on older vehicles. Keep your pressure nozzle at least 30–40 cm from the surface.
Neglecting the Roof — Most people start on the doors because they are at eye level. The roof is the panel most exposed to bird droppings, tree sap, and UV — it needs attention first, not last.
Circular Washing Motion — Always use straight, linear passes. Circular rubbing creates the classic swirl marks you see in sunlight, especially on dark-colored cars.
Post-Wash Protection: Don’t Stop at Clean
A great self shampoo car wash is a perfect base for applying protection. While the paint is clean and free of contaminants, it is the ideal time to apply a spray wax, a quick detailer, or a maintenance spray ceramic coating. These products add a hydrophobic layer to the paint that repels water, reduces future dirt adhesion, and gives the car that deep, reflective shine.
For those who want longer protection, consider applying a paste wax or a synthetic paint sealant every three to four months. This turns your regular self shampoo car wash from maintenance into genuine paint preservation.
Self Service Car Wash vs. Driveway: Which Is Better?
Both options work well for a self shampoo car wash, and each has its advantages.
A self-service car wash bay gives you access to hot water (which aids shampoo activation), a proper drain to handle dirty water runoff, and often better water pressure than a domestic garden hose. Some people also live in apartments or areas where driveway washing is not practical or permitted.
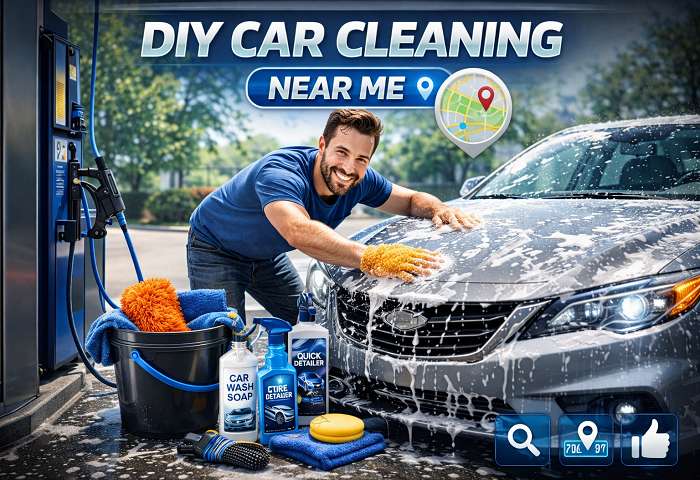
Washing at home on your own driveway offers total convenience, privacy, full control over the products you bring, and no time pressure. You can take as long as you need, which results in a more thorough clean.
If you do use a self-service bay, bring your own premium shampoo, your own wash mitts, and your own drying towels. The shared equipment at these bays is not always clean or paint-safe, and the included soap is usually low-grade.
How Often Should You Do a Self Shampoo Car Wash?
For most drivers, a proper self shampoo car wash every two weeks is the sweet spot. This prevents contaminants from bonding to the paint and keeps the surface looking fresh. If you drive frequently in dusty environments, live near the coast (where salt air settles on surfaces), or park under trees that drop sap and bird droppings, weekly washes may be more appropriate.
In between full washes, a waterless wash spray or a quick detailer applied with a clean microfiber towel can remove light dust and fingerprints without wetting the car. This extends the cleanliness between your full shampoo sessions.
Final Thoughts: Master Your Self Shampoo Car Wash Routine
A proper self shampoo car wash is one of those skills that feels intimidating the first time but becomes second nature after two or three attempts. Once you have your kit set up — two buckets, quality shampoo, a good wash mitt, and a microfiber drying towel — the whole process takes about 45 minutes to an hour for most vehicles. The results genuinely rival what a professional hand-wash detail shop would deliver.
More importantly, you are doing something positive for your car’s long-term value. Clean paint that is regularly protected from contaminants lasts longer, looks better, and commands a higher resale price. Every time you take the time to properly shampoo your car at home, you are investing in one of your most valuable possessions.
So fill up those buckets, pick a shady spot, and enjoy the process. There is something genuinely satisfying about the final rinse, drying off the last panel, and stepping back to see your car looking brand new. That is the real reward of mastering the self shampoo car wash — and once you start, you will never look at a drive-through car wash the same way again.