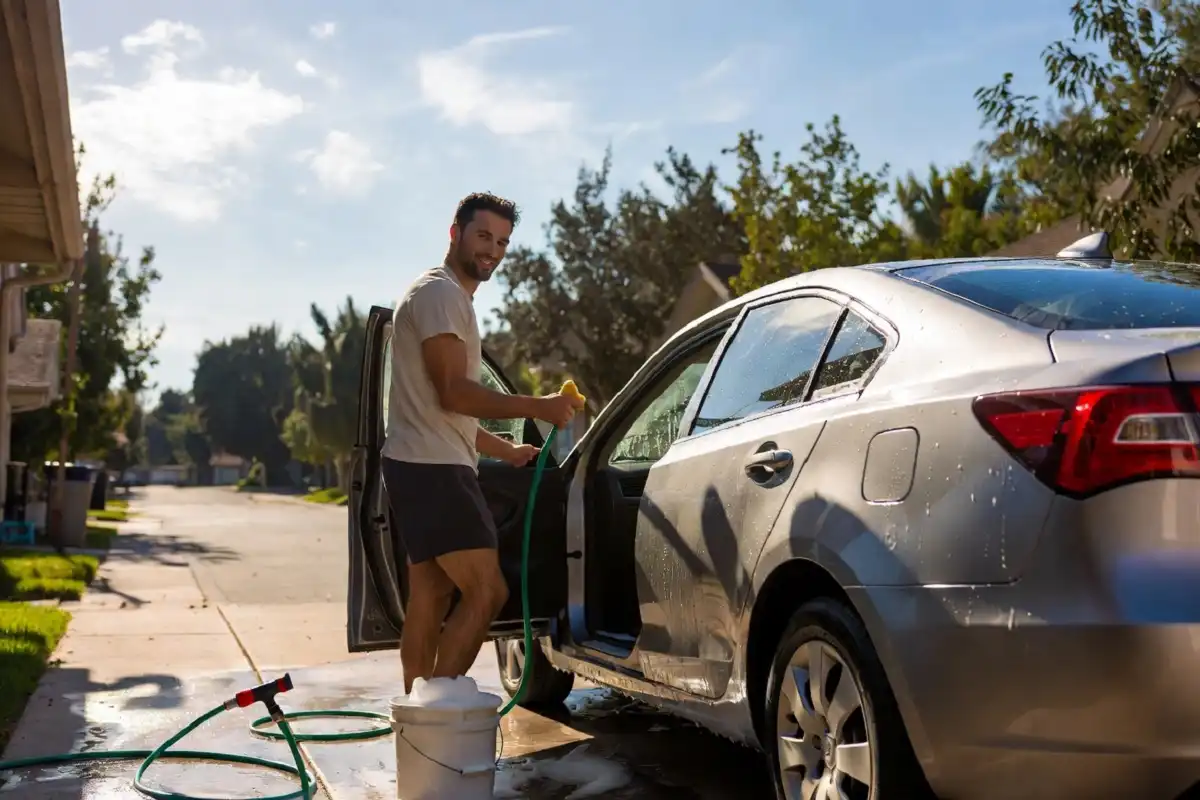
A do it yourself car wash is one of the best ways to keep your vehicle clean without spending a lot of money. You control the products, the pressure, and the process, which means less risk of scratches and better results overall. Whether you are washing your car for the first time or looking to improve your technique, this guide covers everything from the supplies you need to the steps that produce a spotless finish every time.
What You Need Before You Start
Jumping into a do it yourself car wash without the right supplies often leads to swirl marks, missed spots, and frustration. Gathering your tools first saves time and protects your paint.
Here is what you need:
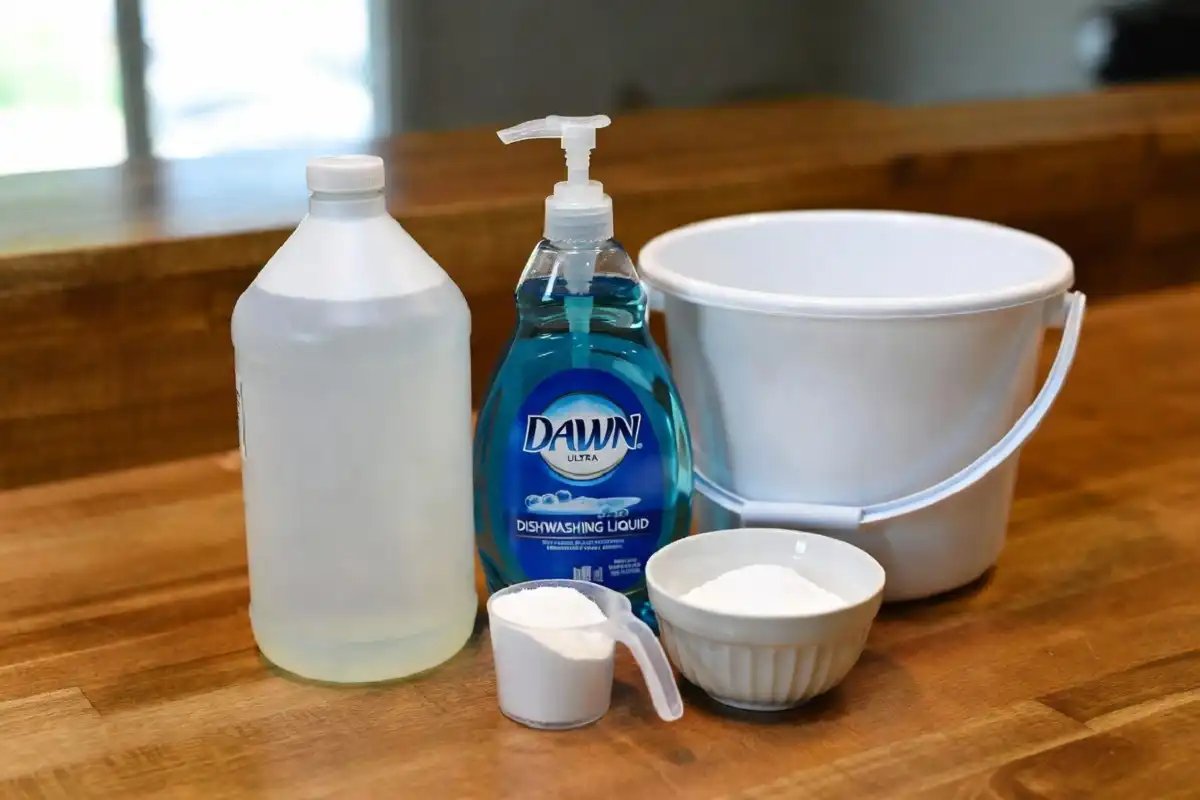
- A car wash soap designed for automotive paint (dish soap strips protective coatings)
- Two buckets with grit guards
- A quality microfiber wash mitt
- A separate wheel brush or sponge
- A hose with an adjustable spray nozzle or a low-pressure washer
- Microfiber drying towels
Having everything ready before you begin means you can move through each step without stopping and risking soap drying on the panels.
The Two-Bucket Method: Why It Matters
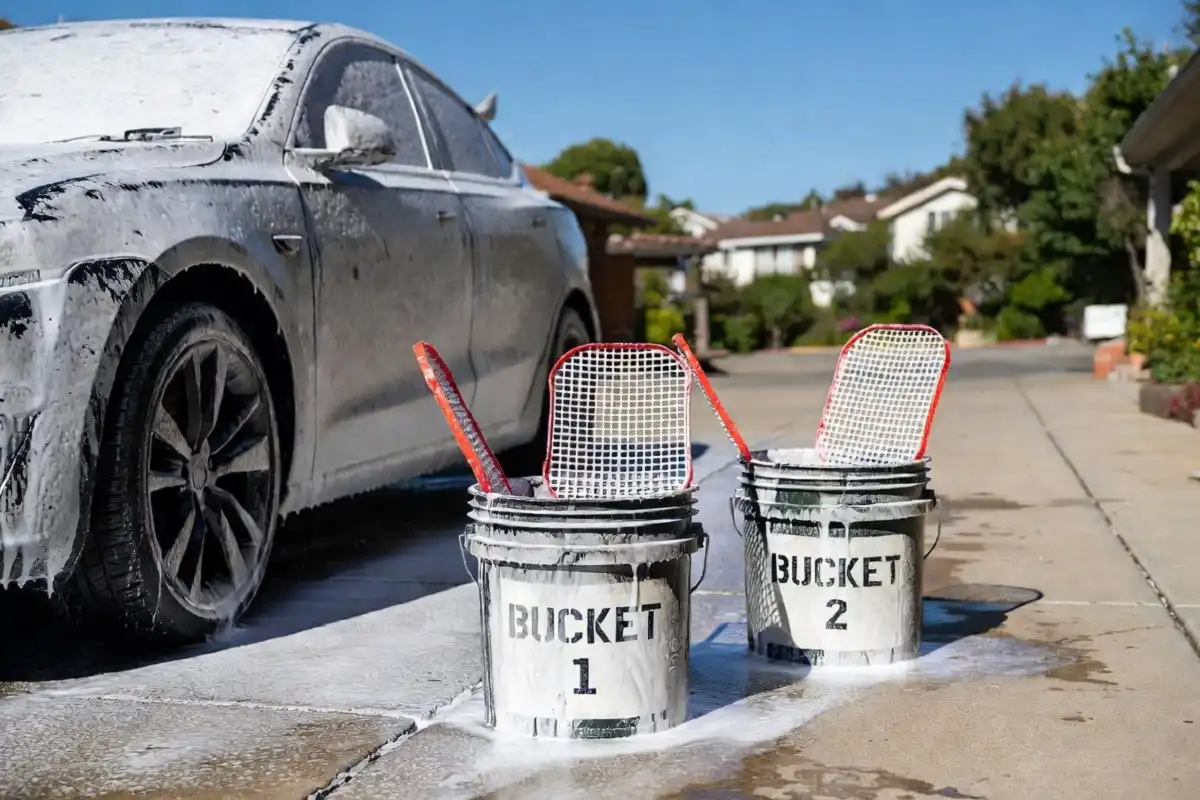
The two-bucket method is the most important technique to understand before starting a do it yourself car wash. One bucket holds clean soapy water. The other holds plain rinse water. Every time your mitt picks up road grime, you rinse it in the plain water bucket before reloading it with soap.
This keeps dirt and grit out of your wash solution and off your paint. Without this step, you end up dragging abrasive particles across your clear coat with every wipe, which causes fine scratches that are hard to reverse.
Grit guards sit at the bottom of each bucket and trap dirt below the waterline so it cannot transfer back onto your mitt. They are inexpensive and make a real difference in the quality of your do it yourself car wash finish.
How to Do a Do It Yourself Car Wash Step by Step
Step 1: Rinse the Entire Car First
Start every do it yourself car wash by rinsing the whole vehicle with water before touching it with a mitt. This loosens surface dirt so you are not grinding it into the paint during washing. Work from the top down so dirty water flows away from areas you have already rinsed.
Step 2: Clean the Wheels First
Wheels carry the most brake dust and road grime on any vehicle. Wash them first with a dedicated wheel brush and wheel-safe cleaner so that splash-back lands on an unwashed car, not a clean one. Rinse them fully before moving on.
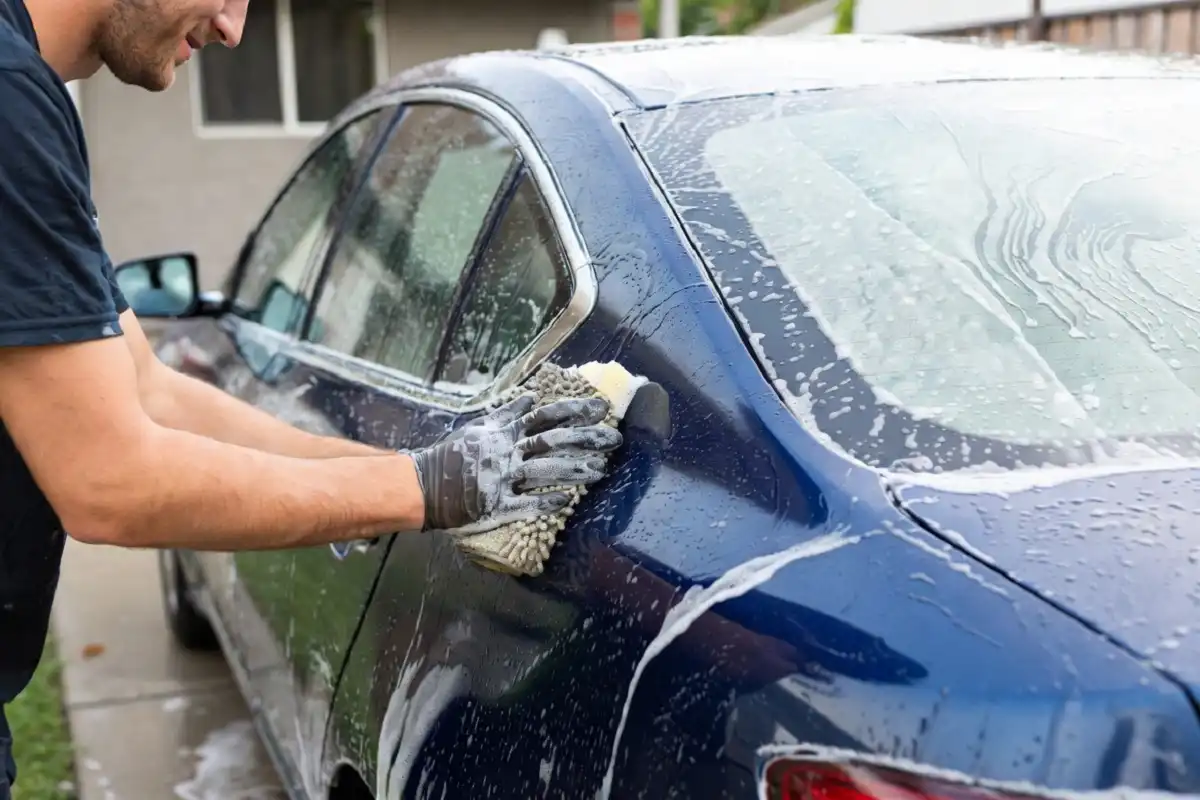
Step 3: Wash the Body in Sections
Use your soapy mitt to wash the car in sections, starting at the roof and working down toward the rocker panels. Use long, overlapping straight strokes rather than circular motions to reduce the chance of swirl marks. Rinse each section before the soap dries, especially on warm or windy days.
This step is the heart of the do it yourself car wash process. Taking your time here has the biggest impact on the final result.
Step 4: Final Full Rinse
Once all panels are washed, do a final rinse from top to bottom. Remove all soap residue, paying attention to door seals, side mirrors, and emblems where product tends to pool.
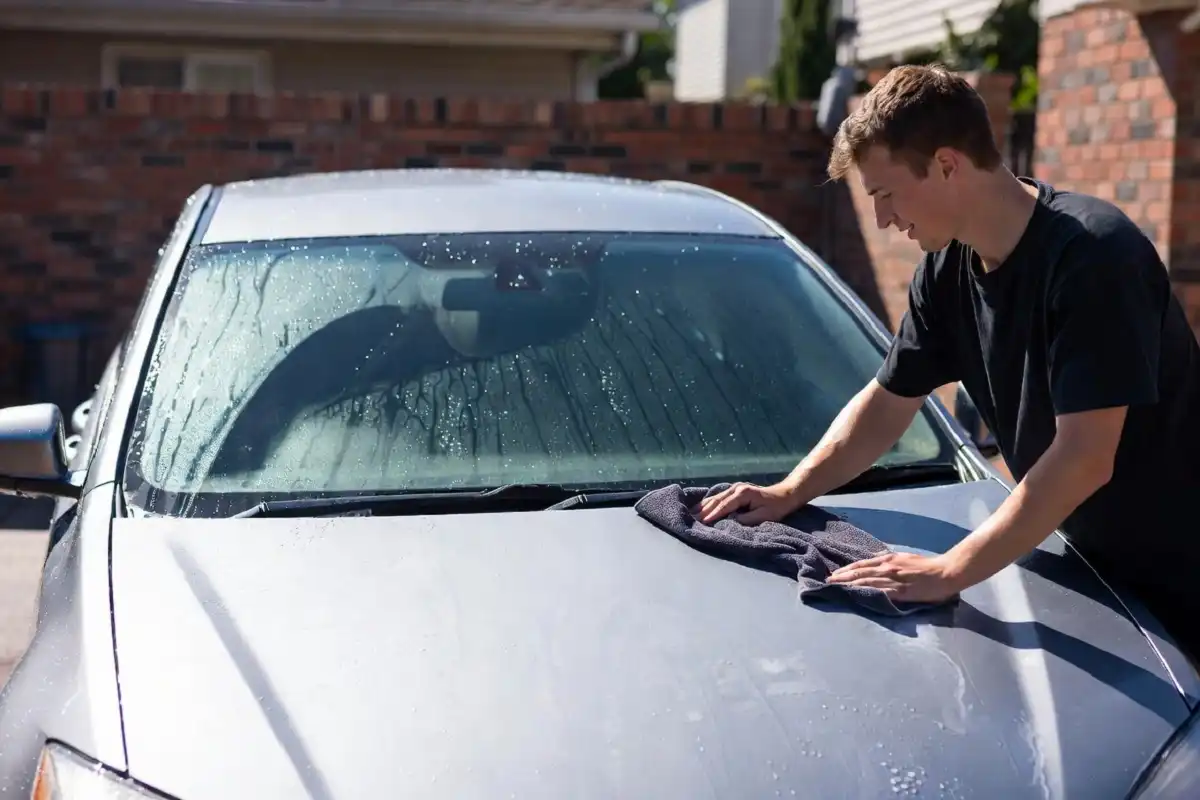
Step 5: Dry Without Delay
Air drying leaves water spots and mineral deposits, especially in areas with hard tap water. Use a large microfiber drying towel and work in gentle blotting or dragging motions. Avoid scrubbing, which can mark the surface even with a soft towel.
Choosing the Right Location for Your Do It Yourself Car Wash
Where you wash matters as much as how you wash. Direct sunlight heats body panels quickly and causes soap to dry before you rinse it off. A shaded driveway or open garage is the ideal spot for a do it yourself car wash.
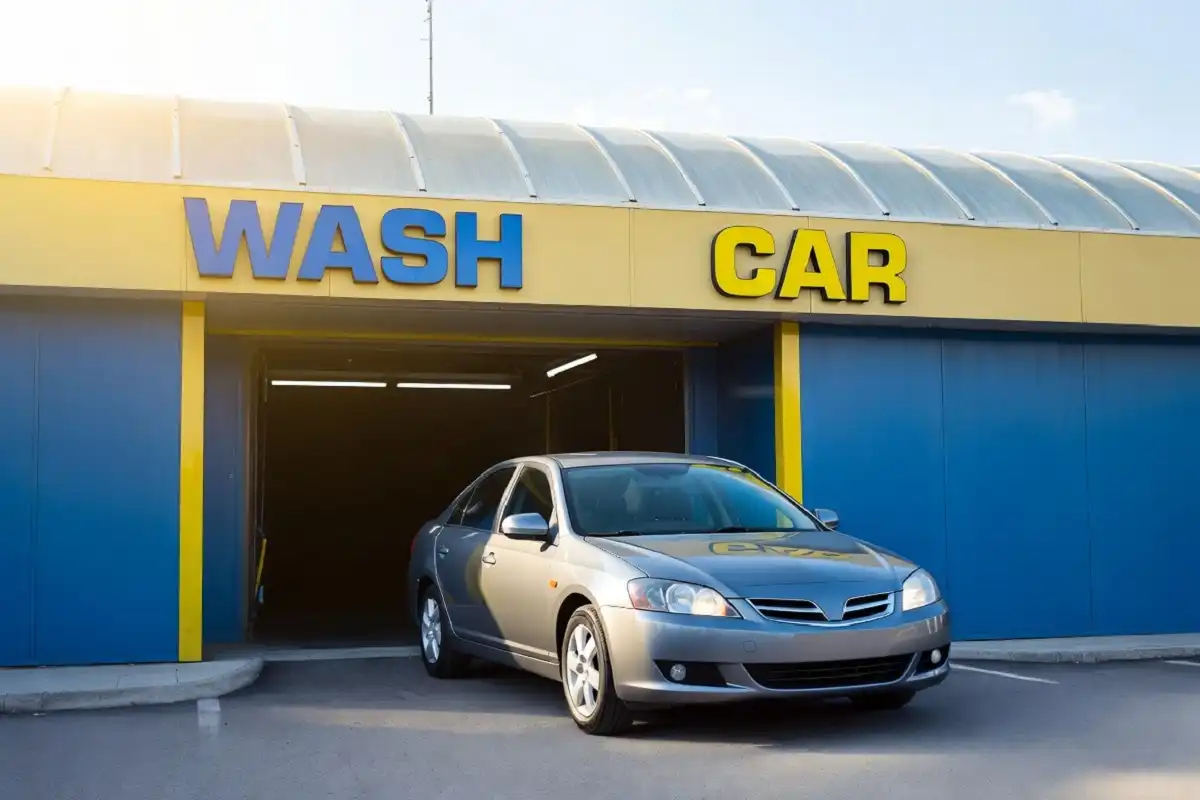
Some local areas have regulations around driveway washing due to water runoff. Checking your local rules before you start avoids potential issues. If washing at home is not an option, self-service bays at gas stations give you the space and proper drainage to complete a thorough wash. This gas station car wash guide explains what to expect and how to get the most out of those setups.
Products That Make a Difference
Not all car care products perform equally, and a do it yourself car wash with the wrong supplies can do more harm than good. Spending a little more on quality items pays off in finish quality and long-term paint protection.
Worth investing in:
- pH-neutral car wash soap safe for waxed and ceramic-coated surfaces
- Microfiber wash mitts with deep, plush pile that holds suds and lifts dirt away from paint
- Waffle-weave drying towels that absorb water quickly without dragging
- Dedicated wheel cleaner appropriate for your wheel finish type
When You Cannot Do a Do It Yourself Car Wash at Home
There are times when a do it yourself car wash at home is not practical, whether due to water restrictions, apartment living, or cold weather. Knowing your alternatives makes it easier to keep up a consistent cleaning routine.
Waterless car washing is a reliable option for light surface dust. A spray-on waterless solution lubricates the surface so you can wipe it clean without scratching. It is not a substitute for a full rinse wash on a heavily soiled car, but it works well for maintenance between proper washes. This waterless car wash guide covers the safest technique and the products that perform best.
If reducing car care costs is a priority, there are also several practical ways to access a free car wash that most drivers overlook.
How Often Should You Wash Your Car?
Washing frequency depends on your environment and driving habits. Vehicles parked outside, driven in rain, or exposed to bird droppings, tree sap, or road salt need more frequent attention. According to Consumer Reports, a wash every two weeks is a practical baseline for most drivers, with more frequent cleaning during winter when salt is on the roads.
Bird droppings and tree sap are especially damaging because they are acidic and can etch clear coat if left untreated for more than a few days. Spot-cleaning them with a detailing spray between washes is a good habit.
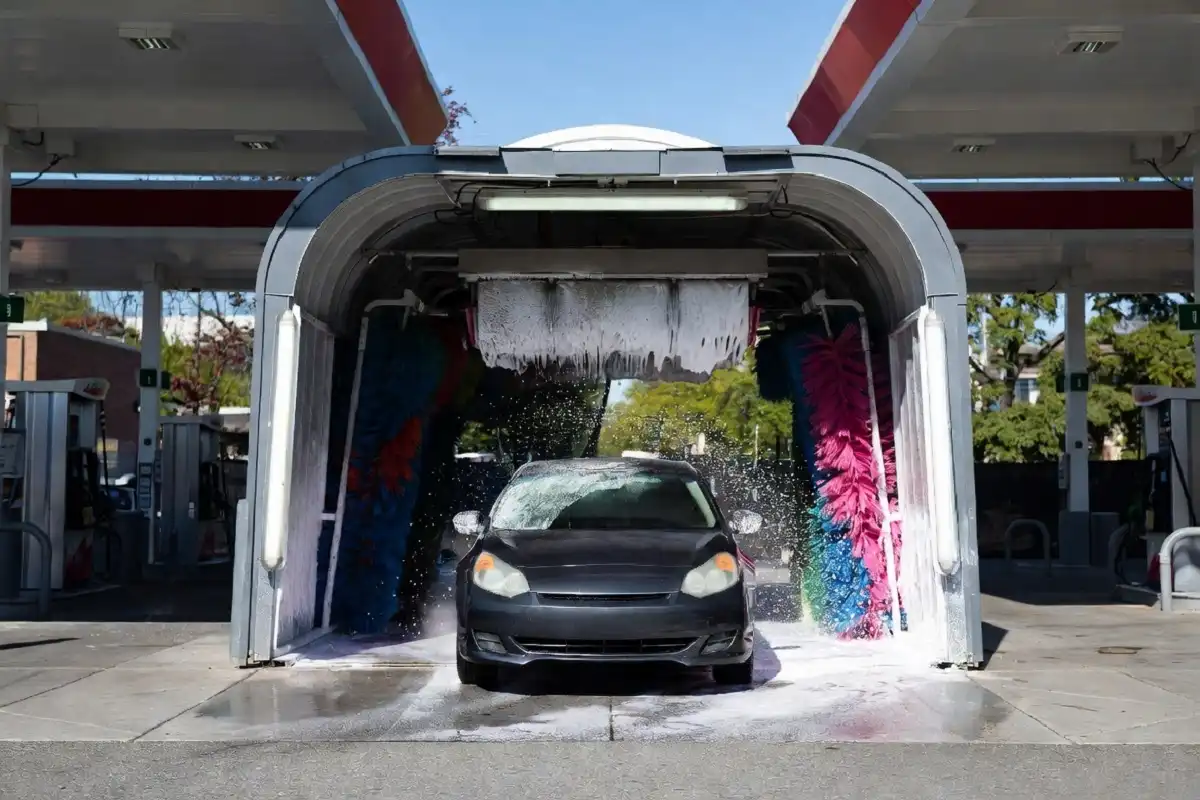
Do It Yourself Car Wash vs. Automatic Car Wash
A do it yourself car wash gives you more control over what touches your paint and at what pressure. Automatic brush-style washes can cause fine surface scratches over time due to worn or contaminated bristles. Touchless automatic washes are safer but may not remove heavy grime as thoroughly.
The practical middle ground is using a do it yourself car wash approach at home for regular maintenance and visiting a professional detailer once or twice a year for deeper paint care. This keeps your car in good condition without the expense of full detailing every month.
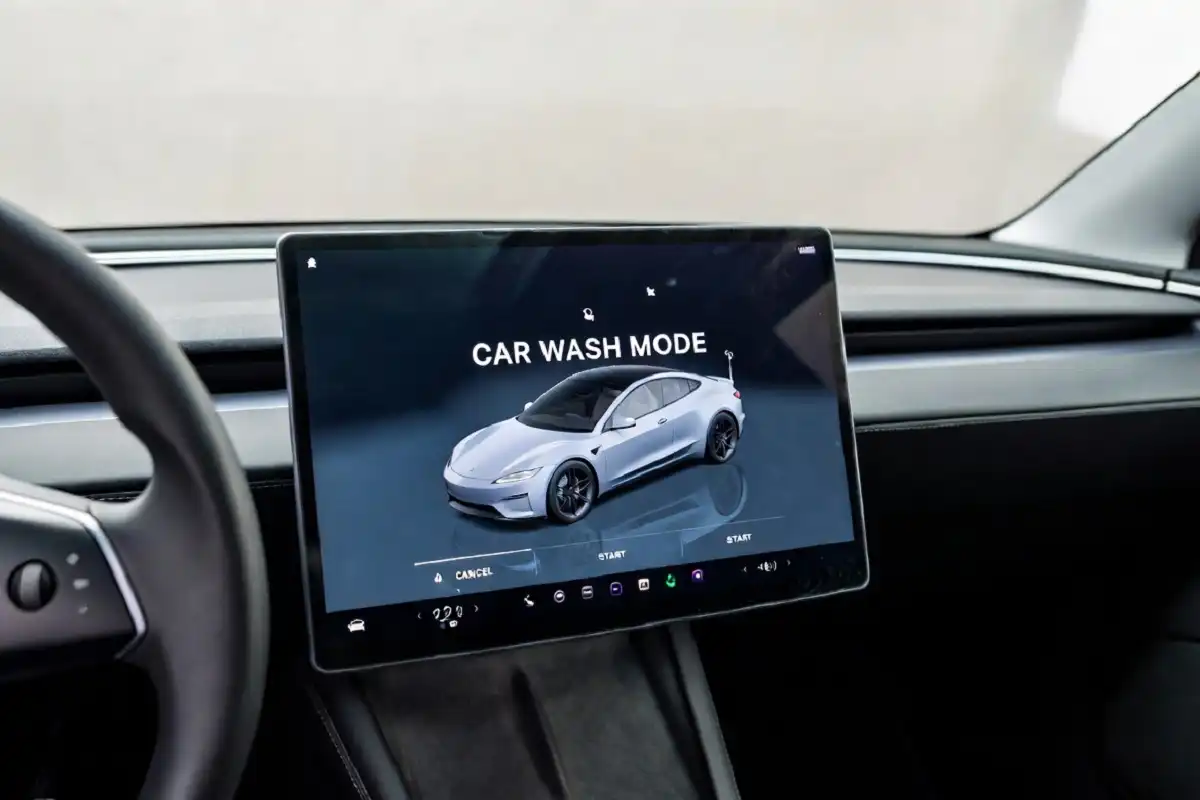
For owners of electric vehicles, washing at home comes with a few extra considerations around sensors and charge ports. The Tesla car wash guide is a useful read before washing an EV at home for the first time.
Tips for Specific Situations
Washing a Dark-Colored Vehicle
Dark paint shows water spots, swirl marks, and fine scratches far more visibly than lighter colors. For a do it yourself car wash on a black or dark vehicle, always use the two-bucket method, work only in shade, and dry immediately using a premium microfiber towel. Avoid sponges or any rough material.
Washing After Rain
Rain does not clean your car. Rainfall carries airborne pollutants and leaves mineral deposits behind as it evaporates. Running a do it yourself car wash after heavy rain removes those deposits before they bond to the paint surface.
Cold Weather Washing
Washing in winter is important because road salt causes corrosion if left on the paint and undercarriage. Choose a day above freezing and dry the car fully afterward, including door jambs and rubber seals, to prevent water from freezing in those areas.
For guidance on professional options during colder months, the Autobell car wash guide covers what a full-service wash facility offers if the weather makes a home wash impractical.
FAQ
Is a do it yourself car wash better than an automatic car wash?
A home wash is generally better for your paint because you choose the products and control the technique. Automatic brush-style washes can create fine surface scratches over time. Touchless options are safer when a do it yourself car wash is not possible, but they may not clean as thoroughly on heavily soiled vehicles.
What soap should I use for a do it yourself car wash?
Use a dedicated automotive car wash soap rather than dish soap or all-purpose household cleaner. Dish soap strips wax and protective coatings, leaving paint more vulnerable. A pH-neutral automotive soap is safe for all paint types and finishes.
Can I do a do it yourself car wash in winter?
Yes, and it is actually important to do so. Road salt accelerates corrosion on metal components and paint edges. Wash on a day above freezing, rinse the undercarriage thoroughly, and dry all seals and jambs to prevent ice from forming.
How long does a do it yourself car wash take?
A standard wash from setup to drying takes 30 to 60 minutes depending on the size of the vehicle. Adding wheel cleaning or a quick interior wipe-down extends the time by another 15 to 30 minutes.
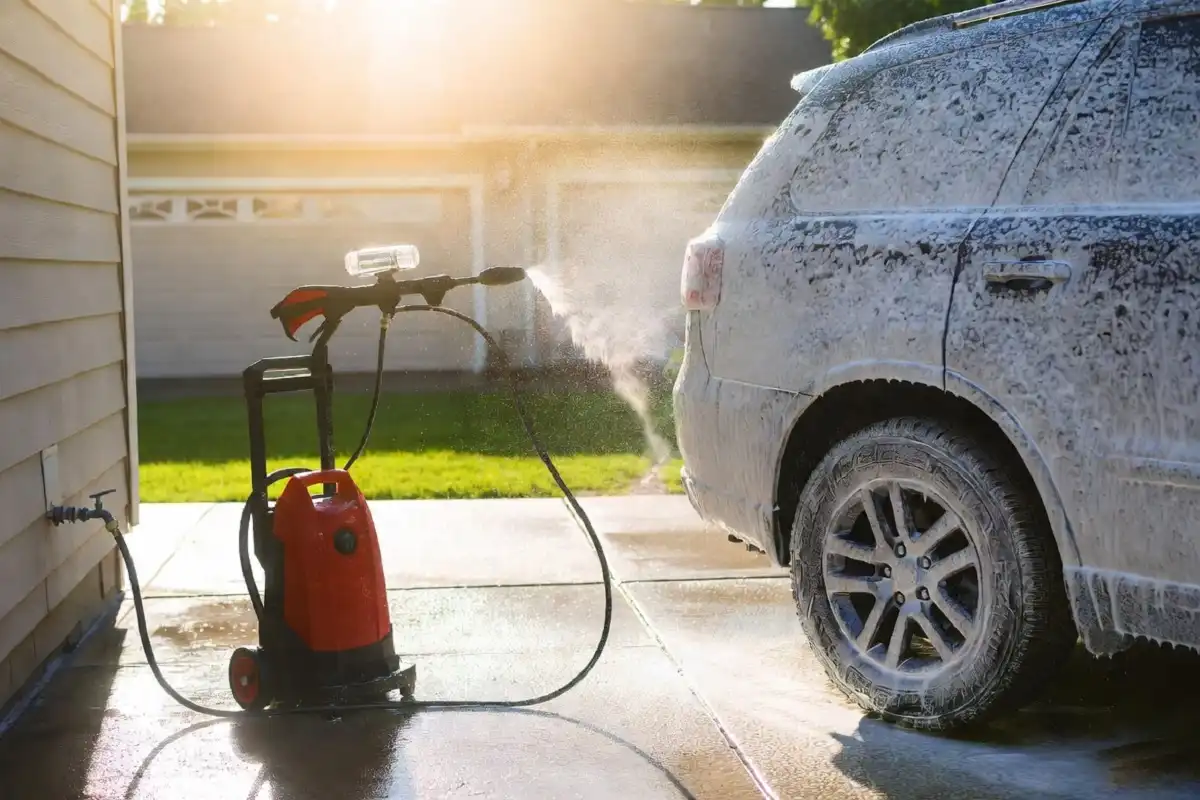
Do I need a pressure washer for a do it yourself car wash?
A pressure washer is helpful but not required for a do it yourself car wash. A standard garden hose with a spray nozzle rinses the car effectively. If you do use a pressure washer, keep the setting low and hold it at least 12 inches from the paint to avoid lifting seals or forcing water into gaps.
Can I use the do it yourself car wash method on a truck or SUV?
Yes, the same process applies to larger vehicles. You will use more product and spend more time on it, and reaching the roof of an SUV may require a step stool or an extended wash brush. The technique itself stays the same.
Conclusion
A do it yourself car wash at home is practical, cost-effective, and genuinely better for your paint when done with the right tools and technique. The two-bucket method, a quality soap, and a proper drying routine are the foundation of a finish that stays cleaner for longer and holds up better over time.