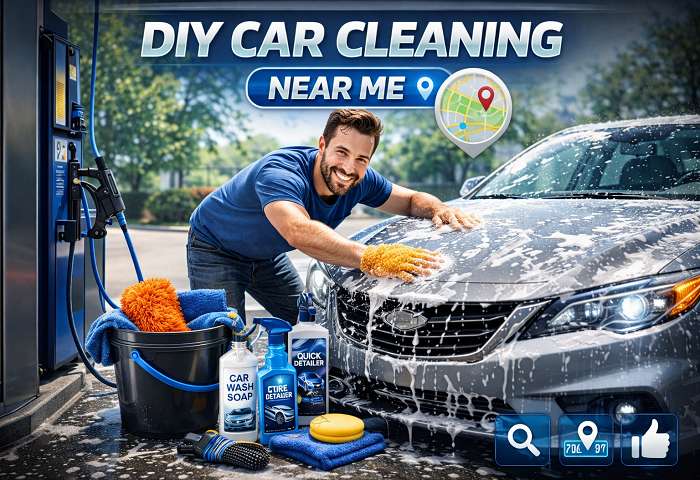
Self Detailing Car Wash: Complete Guide to a Showroom Shine at Home
Have you ever parked next to a car that looked like it had just rolled off the showroom floor — flawless paint, spotless glass, and an interior that smelled brand new? Chances are that car was the result of a dedicated self detailing car wash routine, not a professional shop visit. More and more car owners today are discovering that a proper self detailing car wash done at home can match — and in many cases surpass — the results you get from paying someone else to do it.
Whether you are a first-timer looking to get started or someone who has been washing their car the same way for years and wants better results, this guide covers everything. From the tools you need, to the exact steps professionals follow, to the common mistakes that hold most people back — this is your complete roadmap to mastering the self detailing car wash process.
What Exactly Is a Self Detailing Car Wash?
A lot of people use the terms “car wash” and “car detail” interchangeably, but they are very different things. Understanding the difference is the first step toward getting serious results.
A regular car wash — whether it is an automatic tunnel, a self-serve bay, or a quick rinse in the driveway — is designed to remove surface-level dirt. It is fast, basic, and purely functional. A self detailing car wash, by contrast, is a comprehensive cleaning, restoration, and protection process that addresses every part of the vehicle inside and out.
When you commit to a self detailing car wash, you are not just removing mud and dust. You are decontaminating the paint with a clay bar, correcting surface defects like swirl marks and light scratches, protecting the finish with wax or ceramic coating, deep cleaning the interior fabrics and leather, and restoring faded trim to its original look. It is a full-service treatment that leaves your car looking and feeling genuinely renewed.
The beauty of doing a self detailing car wash at home is that you control every variable — the products used, the time spent on each area, and the techniques applied. No shortcuts, no rushed jobs, and no mystery chemicals.
Why More Car Owners Are Choosing Self Detailing
The growing popularity of the self detailing car wash is no accident. Once people experience the results firsthand, most never go back to automatic washes or even professional detailers for routine maintenance.
Serious cost savings are the first reason. A professional full detail typically runs between $150 and $500 depending on the vehicle size and your location. When you invest in a solid self detailing car wash kit — which might cost $100 to $200 initially — those products last for dozens of sessions. Over the course of a year, the savings are substantial.
Superior paint protection is the second. Automatic brush washes are genuinely damaging to your paint. Those rotating brushes carry grit from hundreds of vehicles before yours, dragging abrasive particles across your clear coat and leaving behind thousands of tiny scratches. A self detailing car wash using proper wash mitts, the two-bucket method, and pH-neutral shampoo eliminates that risk entirely.
Customized care is the third. Every car is different. A daily driver accumulates different types of contamination than a weekend sports car or a truck used off-road. A self detailing car wash lets you target exactly what your specific vehicle needs — heavy iron decontamination, deep upholstery cleaning, paint correction on one panel, or extra attention to wheels and wheel arches.
Personal pride and satisfaction round out the reasons. There is something genuinely rewarding about stepping back from a car you detailed yourself and seeing your reflection perfectly mirrored in the paint.
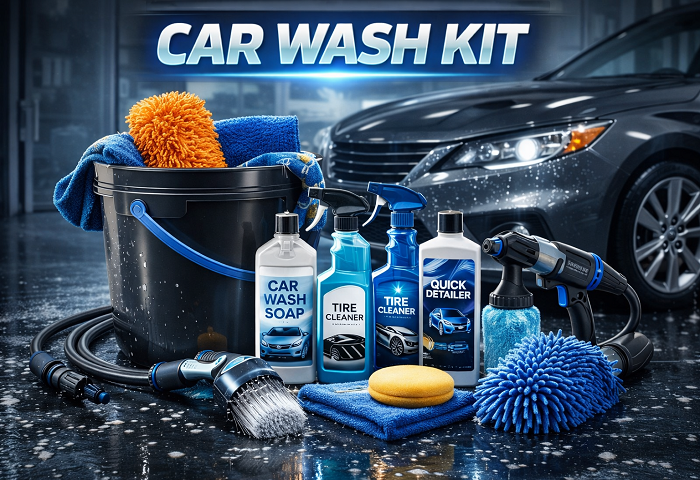
Building Your Self Detailing Car Wash Kit
Before your first self detailing car wash session, you need to gather the right tools. Using improper equipment is one of the main reasons DIY attempts end with scratched paint or streaky windows. Here is what a well-equipped setup looks like.
Exterior Essentials
- Foam cannon or foam gun — Applies thick pre-wash foam that loosens grime before any contact with the paint. A foam cannon connects to a pressure washer; a foam gun works with a standard garden hose.
- Pressure washer or strong hose nozzle — Used for the pre-rinse, post-wash rinse, and wheel cleaning. A pressure washer gives more cleaning power but a hose is perfectly adequate for most self detailing car wash jobs.
- Two wash buckets with grit guards — The two-bucket method is the single most important technique in safe paint washing. One bucket holds soapy water, the other is for rinsing your mitt between passes. Grit guards sit at the bottom and trap contaminants below your mitt.
- Microfiber wash mitts — Far gentler than sponges, microfiber mitts have deep pile fibers that encapsulate dirt rather than dragging it across the paint.
- Clay bar kit — Removes bonded surface contaminants that shampoo cannot lift: industrial fallout, rail dust, tree sap residue, and road grime embedded in the clear coat.
- Dual-action (DA) polisher — For paint correction and applying wax or sealant with consistent, swirl-free results.
- Large microfiber drying towels — Plush, high-GSM drying towels prevent water spots and eliminate the scratch risk of chamois leathers.
- Wheel and tire brushes — Purpose-built brushes for safely agitating wheels and tire sidewalls without cross-contaminating your paint tools.
Interior Essentials
- Wet/dry vacuum with attachments — For thorough debris removal from carpets, seats, and crevices.
- Interior detailing brushes — Soft brushes for dashboard vents, trim crevices, and around buttons.
- Microfiber cloths (multiple) — Dedicated cloths for different surfaces: dashboard, glass, leather.
- Steam cleaner — Optional but highly effective for deep cleaning upholstery and sanitizing hard surfaces without chemicals.
Products
- pH-neutral car wash shampoo
- All-purpose cleaner (APC) for interior surfaces
- Automotive glass cleaner
- Leather cleaner and conditioner
- Upholstery cleaner for fabric seats
- Wheel cleaner and tire dressing
- Clay bar lubricant
- Car polish and compound
- Car wax, paint sealant, or ceramic coating
- Quick detailer / detailing spray for maintenance
The Complete Self Detailing Car Wash Process: Step by Step
A thorough self detailing car wash is divided into two major phases: interior and exterior. Most experienced detailers tackle the interior first so that any dust or dislodged debris from vacuuming does not settle onto a freshly cleaned and waxed exterior.
Plan for a full day for your first complete self detailing car wash. With experience, the process becomes faster and more efficient, but quality takes time — and the results are absolutely worth it.
Phase One: Interior Detailing
Step 1 — Clear and Prep the Cabin
Remove all personal items, floor mats, and removable accessories. Take floor mats outside and shake them vigorously. Decluttering first gives you full access to every surface.
Step 2 — Vacuum Everything
Using your wet/dry vacuum with appropriate attachments, work systematically through the cabin — starting with seats, then moving to carpets, door pockets, center console, and finally the trunk. Run a stiff detailing brush through fabric seats before vacuuming to agitate and loosen embedded dirt and pet hair.
Slide seats forward and back to access the rails and floor underneath. Use a crevice tool along door sills and seat seams where crumbs and debris accumulate.
Step 3 — Clean Hard Surfaces
Spray your diluted all-purpose cleaner onto a microfiber cloth — never directly onto the surface — and wipe down the dashboard, instrument cluster surround, center console, door panels, and steering wheel. Use small detailing brushes to work into air vents, button surrounds, and any textured plastic.
For sticky spots or heavy grime, a slightly more concentrated APC solution applied with a brush and wiped clean works well.
Step 4 — Interior Glass
Automotive glass cleaner and a dedicated glass microfiber cloth give streak-free results. Wipe in one direction first, then cross-wipe at 90 degrees to catch any remaining residue. Roll windows down a few centimeters to clean the top edge where a visible stripe of grime tends to collect.
Avoid using household glass cleaners on automotive glass — many contain ammonia which can damage window tint and rubber seals over time.
Step 5 — Seats and Upholstery
For fabric seats, apply upholstery cleaner, agitate with a soft brush in circular motions, and extract with a clean cloth or wet-dry vac. Allow to dry fully before use.
For leather seats, apply a dedicated leather cleaner with a soft brush, wipe away the lifted dirt with a microfiber cloth, and follow up with a leather conditioner. Conditioning is critical — it replenishes the natural oils in the leather that prevent cracking and fading.
Step 6 — Floor Mats
Rubber mats get a hose rinse and a scrub with a stiff brush and APC. Carpet mats are treated with upholstery cleaner, brushed, and left to dry outdoors before being returned to the vehicle.
Step 7 — Final Interior Touches
Apply a UV-protective interior dressing to all plastic and vinyl surfaces to restore a natural appearance and guard against fading. A matte-finish dressing looks far more professional than glossy products and does not cause distracting glare while driving. Avoid applying any dressing to the steering wheel, pedals, or any surface where grip is important.
Phase Two: Exterior Detailing
This is the core of any self detailing car wash and where the most dramatic visual transformation happens.
Step 1 — Pre-Rinse
Begin with a thorough rinse from top to bottom using a pressure washer or strong hose. The goal is to blast away loose dirt, dust, and road debris before any contact washing. Pay particular attention to wheel arches, lower door sills, and the front bumper where grime accumulates most heavily.
Step 2 — Wheels and Tires First
Wheels are the dirtiest part of any vehicle and must be cleaned before the paint to prevent contaminated water from splashing onto your work. Apply a dedicated wheel cleaner, allow it to dwell for 30 to 60 seconds to break down brake dust and road grime, then agitate with purpose-built wheel brushes. Use separate brushes for the wheel face, barrel, and lug nut areas.
Spray tire cleaner onto the rubber sidewalls, scrub with a stiff tire brush, and rinse clean. Set the wheels aside mentally — you will apply tire dressing at the very end.
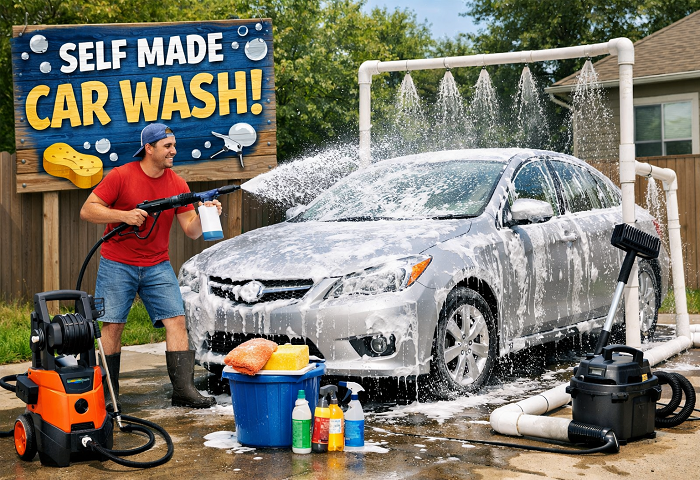
Step 3 — Snow Foam Pre-Wash
If your self detailing car wash setup includes a foam cannon or foam gun, this step makes a significant difference. Apply a thick layer of pre-wash snow foam over the entire vehicle and allow it to dwell for 5 to 10 minutes. The foam clings to vertical surfaces and chemically breaks down road film and traffic grime without any physical contact.
This contact-free pre-clean dramatically reduces the amount of abrasive particles present during the actual wash stage, cutting the risk of paint scratches and swirl marks substantially. Rinse the foam off completely before moving on.
Step 4 — Two-Bucket Hand Wash
This is the safest and most effective washing method for any self detailing car wash. Fill bucket one with pH-neutral car shampoo mixed to the manufacturer’s dilution ratio. Fill bucket two with clean plain water.
Dip your wash mitt into the soapy water, wash one panel using straight overlapping strokes rather than circular motions, then dip the mitt into the rinse bucket before reloading with soapy water. The grit guards at the bottom of each bucket trap contaminants below the waterline, preventing them from being transferred back to your paint.
Work from the roof downward — roof, windscreen, windows, bonnet, boot, doors, and finally the lower panels which carry the most contamination. Change your rinse water if it becomes visibly dirty during the process.
Step 5 — Rinse Thoroughly
Rinse the entire car from top to bottom, making sure no soap residue remains in gaps around badges, door handles, trim edges, or mirrors. Soap left to dry on paint can leave dull, hazy marks that require extra work to remove.
Step 6 — Clay Bar Decontamination
The clay bar is one of the most transformative steps in a self detailing car wash and one that most people skip — which is exactly why their results fall short of professional standards.
Even after a thorough wash, paint contains bonded contaminants invisible to the naked eye: industrial fallout, rail dust, road tar micro-deposits, and tree sap residue. Run the back of your clean hand across your washed paint — if it does not feel perfectly smooth like glass, contamination is present.
Spray a generous amount of clay lubricant onto a small section of paint. Glide the clay bar across the surface using minimal pressure. On the first pass you will feel and sometimes hear the clay picking up contaminants. Fold and knead the clay frequently to expose a clean working surface, and work section by section across the entire car.
When done, the paint should feel genuinely glassy and smooth — a transformation that is immediately obvious to the touch and one of the most satisfying moments of any self detailing car wash session.
Step 7 — Dry the Vehicle
Dry the car immediately after the final rinse to prevent water spots from mineral deposits. Use large, plush microfiber drying towels and work panel by panel from the top down. Use a quick detailer spray as a lubricant under the drying towel for extra protection and a streak-free finish.
Use a dedicated drying towel just for door jambs and crevices, keeping your good paint towels away from dirtier areas.
Step 8 — Paint Correction (When Needed)
If your paint shows visible swirl marks, light scratches, oxidation, or water spot etching, paint correction is the step that addresses these defects. Using a dual-action polisher with appropriate foam pads and polish compounds, work section by section to refine and restore the paint surface.
Light defects (fine swirls, minor water spots): light polish with a soft finishing pad. Moderate defects (deeper swirls, oxidation, light scratches): medium cutting compound with an orange foam cutting pad. Heavy defects (severe oxidation, deep scratches): aggressive compound with a wool or microfiber cutting pad.
Always work in the shade, on a cool surface, and at low speed settings on the polisher. Remove polish residue with a clean microfiber cloth before the product dries fully. Paint correction is the skill that most elevates the quality of your self detailing car wash results over time.
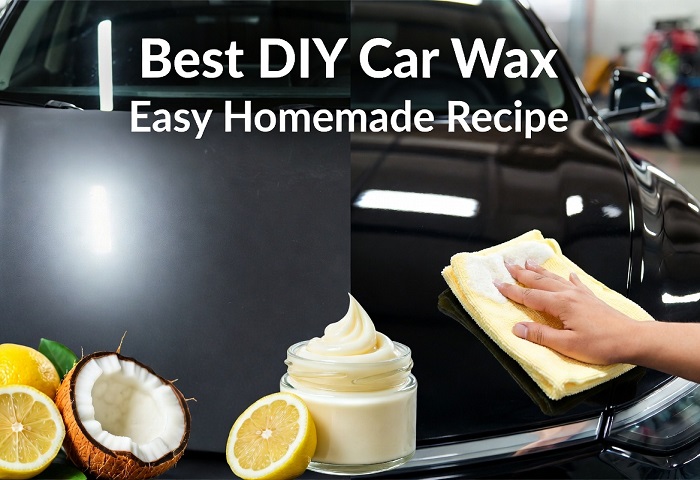
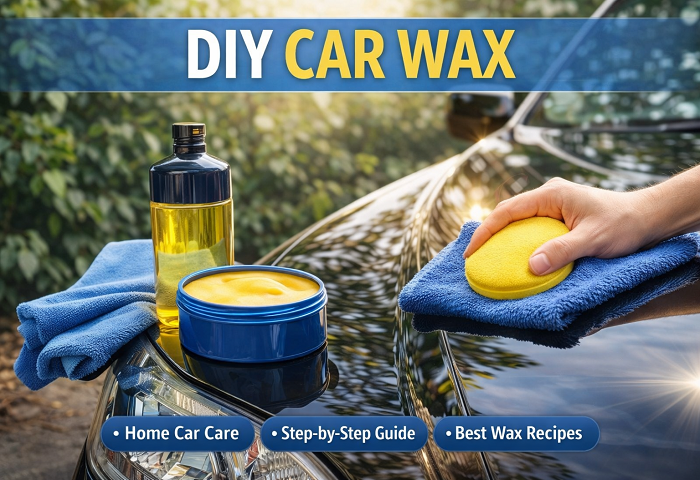
Step 9 — Paint Protection
Freshly corrected and decontaminated paint must be protected immediately. This step seals in your work and determines how long your results last.
Carnauba wax — Natural, beautiful warm glow, easy to apply by hand. Durability: 4 to 8 weeks. Best for enthusiasts who enjoy the ritual of regular waxing.
Synthetic paint sealant — Polymer-based, longer-lasting protection of 4 to 6 months. Slightly less warm appearance than wax but far more durable. A strong choice for most daily driver self detailing car wash setups.
Ceramic coating — The most advanced protection option. Bonds chemically to the clear coat, providing 1 to 5 years of hydrophobic, UV-resistant, and chemical-resistant protection. Requires careful application but delivers outstanding long-term results.
Apply your chosen product with a foam applicator pad in straight overlapping sections. Allow to haze, then buff off with a clean microfiber cloth. Work in the shade and avoid applying in direct sunlight or on hot paint.
Step 10 — Finishing Details
Clean exterior glass with automotive glass cleaner for streak-free visibility. Restore any faded or gray plastic trim with a dedicated trim restorer or coating. Apply a light coat of tire dressing to the sidewalls using an applicator sponge for a clean, finished appearance. Wipe down door jambs, fuel filler flap edges, and boot sills with a damp APC cloth.
Step back, do a final walk-around inspection, and touch up anything you missed. These final details are what separate a good self detailing car wash from a truly great one.
How Often Should You Do a Self Detailing Car Wash?
Establishing a maintenance schedule keeps the results of your self detailing car wash efforts looking their best between full sessions.
- Maintenance wash (two-bucket wash and quick detailer): Every 2 to 4 weeks
- Full exterior detail (clay, polish, wax or sealant): Every 3 to 6 months
- Full interior detail: Every 1 to 3 months depending on use
- Paint correction: Once or twice a year as surface condition requires
- Ceramic coating maintenance: Annually with a top-up coat
Vehicles parked outdoors, driven in coastal environments, or used in dusty or heavily polluted urban areas will benefit from more frequent self detailing car wash sessions to maintain the same standard of protection and appearance.
Common Mistakes to Avoid in Your Self Detailing Car Wash
Learning what not to do is just as valuable as learning correct technique. These are the most frequent errors people make when starting out with a self detailing car wash routine.
Washing in direct sunlight or on hot paint — Soap dries too rapidly, leaving residue marks and making the wash process much harder. Always work in shade or during cooler times of day.
Using dish soap or household cleaners — These strip protective wax and sealant from the paint. Always use a dedicated, pH-neutral car wash shampoo.
Single-bucket washing — Without a rinse bucket, you are constantly reintroducing grit and dirt to your wash mitt and dragging it across your paint. The two-bucket method is non-negotiable in a proper self detailing car wash.
Circular scrubbing motions — Circular motions during washing or polishing leave circular scratch patterns that are highly visible in direct light. Always use straight overlapping strokes.
Skipping the clay bar — Applying wax or sealant over contaminated paint traps those contaminants in and reduces both the bond and effectiveness of your protection. Clay is an essential step in every complete self detailing car wash, not an optional extra.
Using the wrong microfiber for the wrong job — Drying towels, glass cloths, polish removal cloths, and interior wipes all have different specifications. Using the same cloth for multiple purposes spreads contamination and reduces effectiveness.
Applying too much product — More is not better with wax, polish, or ceramic coating. Thin, even applications are easier to remove, cure more effectively, and give better results than thick layers.
Long-Term Car Care: Maintaining Your Self Detailing Results
A full self detailing car wash is most effective when supported by a regular maintenance habit. Between major detail sessions, a quick maintenance wash every few weeks — using the two-bucket method with good shampoo — keeps contamination levels low and makes each full detail faster and easier.
Keep a spray detailer or waterless wash product in your car for quick touch-ups after bird dropping incidents or dusty drives. Bird droppings are highly acidic and can etch into clear coat within hours in hot weather. Addressing contamination immediately protects the work you put into your last self detailing car wash session.
If you have applied a ceramic coating, use a dedicated ceramic maintenance spray as a top-up after each wash to refresh the hydrophobic properties and extend the coating lifespan significantly.
Consider investing in a good quality car cover if your vehicle lives outdoors. A cover reduces UV exposure, limits bird dropping damage, and keeps airborne contamination off the paint — meaning longer-lasting protection and less correction work needed at your next self detailing car wash.
Is a Self Detailing Car Wash Better Than Professional Detailing?
For most car owners, a well-executed self detailing car wash done at home will outperform a rushed professional service every single time. Professional detailers work on schedules and budgets — they have other vehicles to complete and economic incentives to be efficient. When you do your own self detailing car wash, you have unlimited time to spend on a stubborn water spot, a difficult trim piece, or a particularly contaminated wheel arch.
You also have full visibility into what products and tools are touching your car. Over time, your skills will genuinely rival professional results — and the more sessions you do, the faster and better you become. The investment in learning the self detailing car wash process pays dividends across the entire life of every vehicle you own.
Final Thoughts
A proper self detailing car wash is one of the best investments you can make in your vehicle. It protects the paint from premature deterioration, maintains the interior in excellent condition, and preserves the resale value of the car over its lifetime.
Start with the fundamentals — a good two-bucket wash, quality microfiber tools, a clay bar, and a solid wax or sealant. As your confidence grows, introduce paint correction and ceramic coating into your process. Each self detailing car wash session will sharpen your eye for detail, deepen your understanding of your vehicle, and deliver results that make every drive genuinely more enjoyable.