A sparkling image car wash is more than a quick rinse. It is a complete approach to keeping your car clean, protected, and looking its best. Whether you prefer doing it yourself at home or visiting a professional facility, the right process makes a real difference. This guide covers everything you need to know about getting it done right, from gathering the correct tools to finishing with a streak-free shine. By the end, you will have a clear picture of how to achieve great results every single time.
What Is a Sparkling Image Car Wash?
A sparkling image car wash refers to a cleaning method that leaves a vehicle spotless, streak-free, and visually polished. It is not just about removing surface dirt. It focuses on the full exterior appearance, including paint protection, window clarity, and tire shine. The term is also associated with car wash businesses that use it as part of their brand, offering multi-step wash programs with hand-dry finishes and detailing add-ons.
Achieving this level of cleanliness at home is completely possible with the right supplies and technique. Whether you visit a facility or handle it yourself, the goal is the same: a clean, protected car that looks like it just left a showroom.
Why the Right Wash Method Matters
Using the wrong method can actually damage your car’s finish. Rough sponges, dirty water, or harsh chemicals can leave fine scratches called swirl marks. These are often only visible in direct sunlight, but they build up over time and make the paint look dull.
A proper sparkling image car wash uses the right products, the correct technique, and a logical order of steps. This protects the clear coat while delivering a genuinely clean result. Skipping steps or rushing through the process is the main reason people end up with a car that looks worse after washing than before.
Tools and Products You Will Need
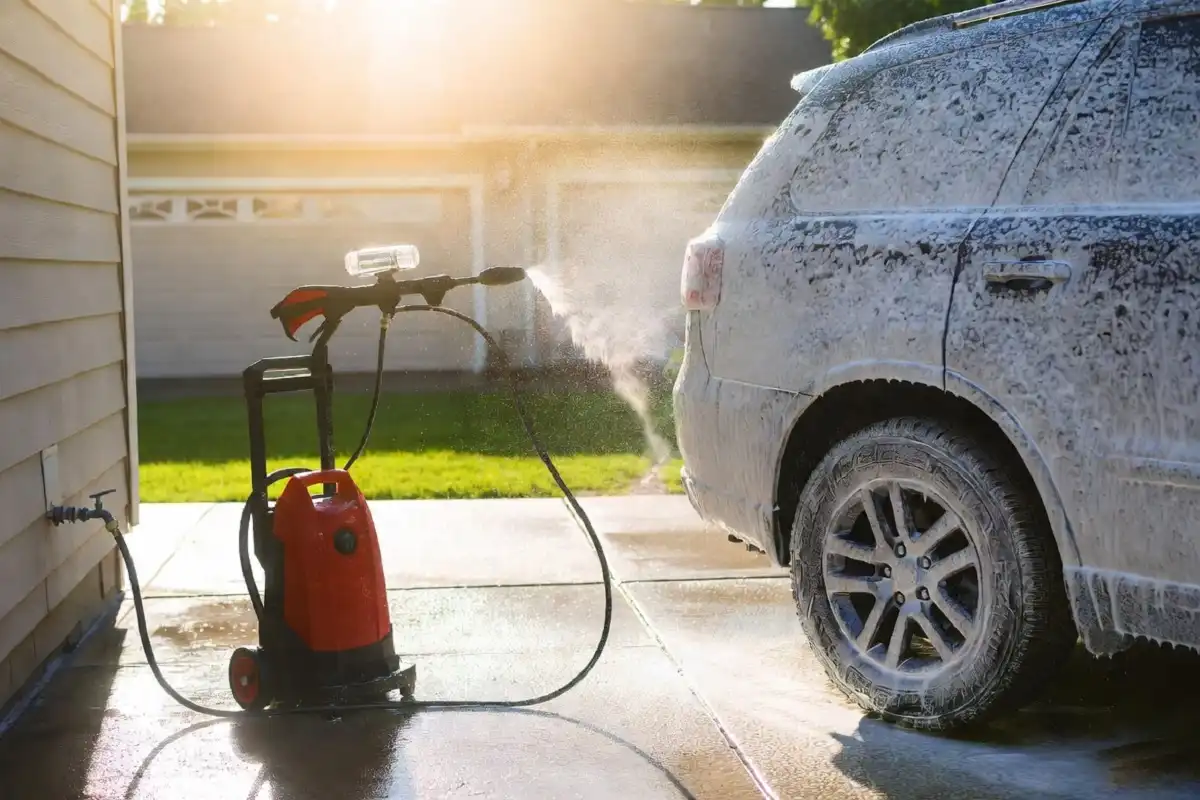
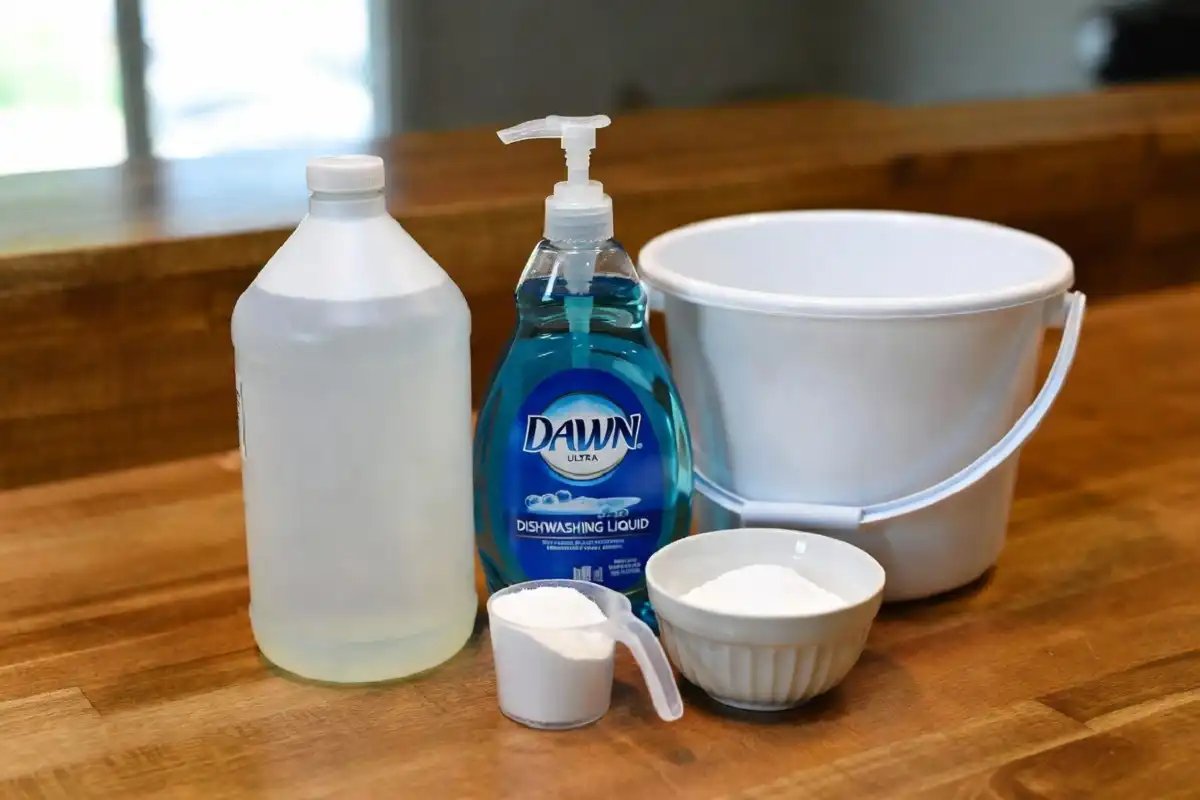
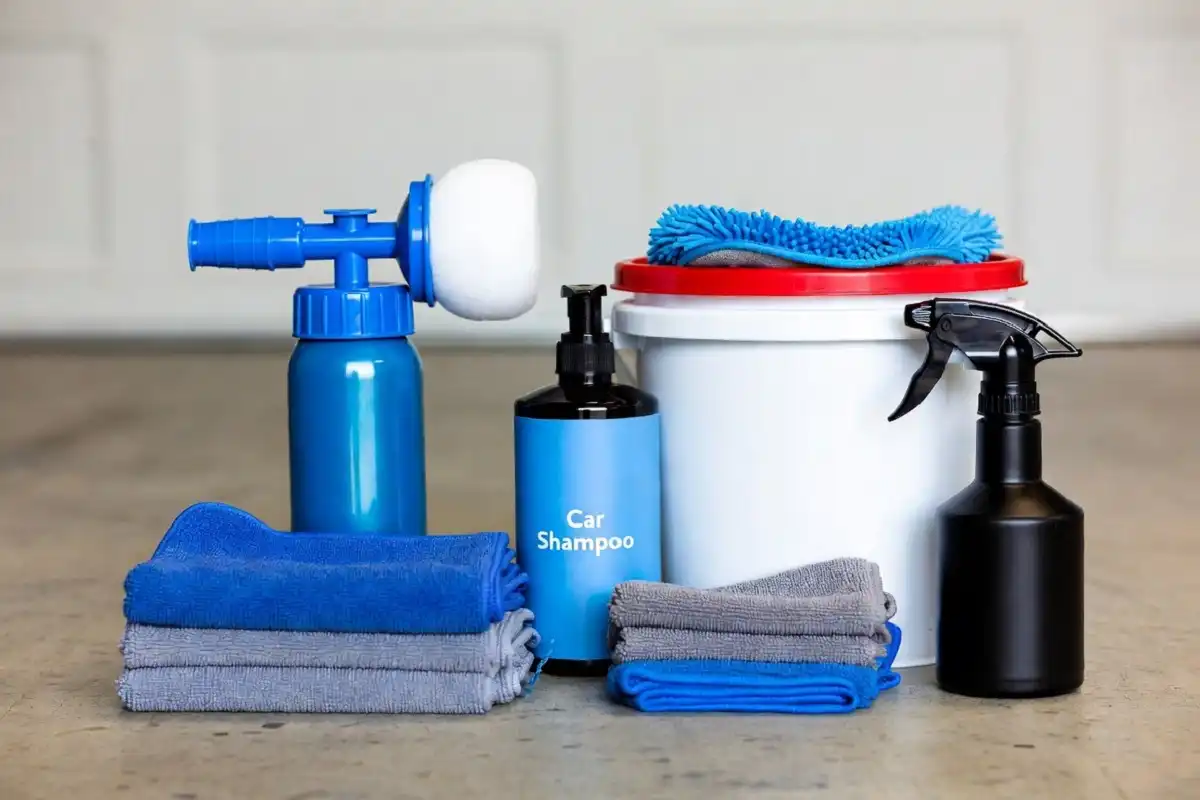
Before you start your sparkling image car wash, gather the right supplies. Using quality tools is one of the easiest ways to improve your results without spending much extra time or money.
- Two buckets (one for soapy water, one for rinsing the mitt)
- A car wash shampoo designed for automotive paint
- A soft microfiber wash mitt
- Microfiber drying towels
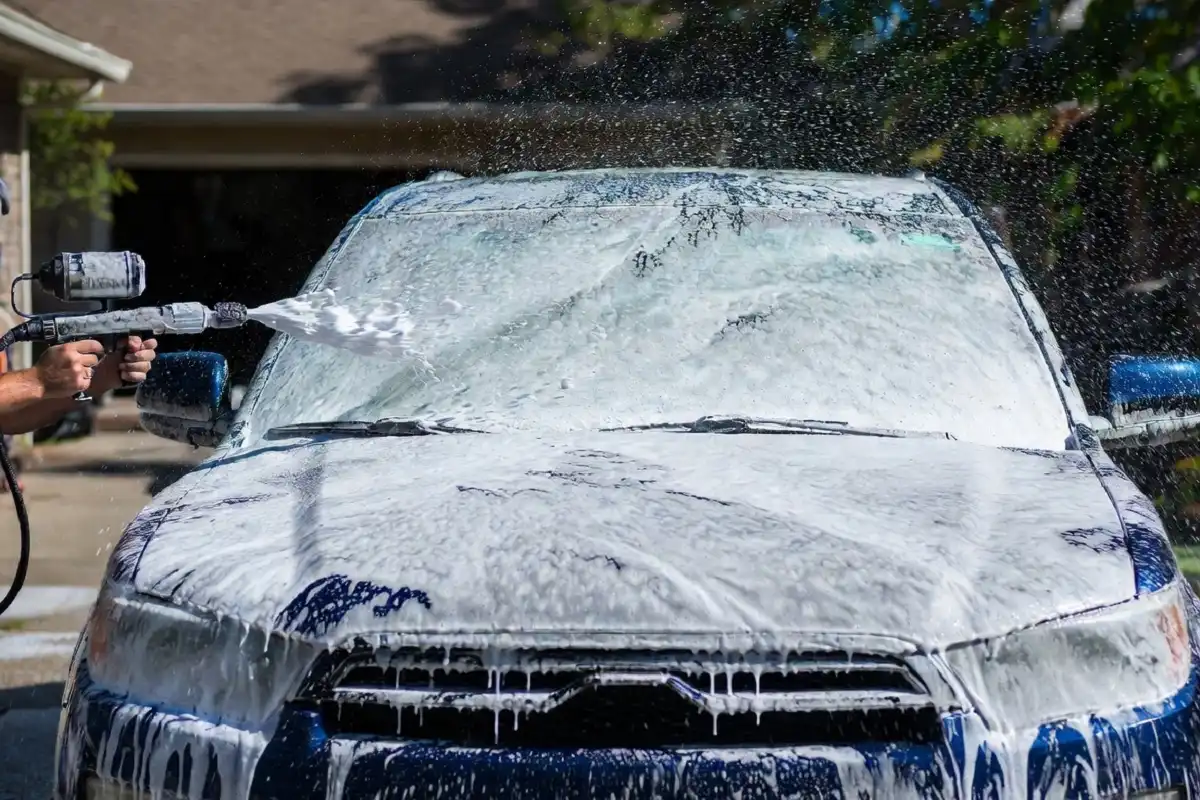
- A foam cannon or spray nozzle
- A wheel brush and dedicated wheel cleaner
- Glass cleaner safe for auto use
- A quick-detail spray or finishing wax
You do not need expensive professional gear to achieve solid results. The two-bucket method alone will protect your paint more than most other techniques.
For a broader look at products that work well across different wash types, the waterless car wash guide covers some excellent no-rinse formulas that are worth knowing about.
Step-by-Step Sparkling Image Car Wash Process
Following a consistent sparkling image car wash process from start to finish is what separates a clean car from a truly polished one. These steps are simple, logical, and easy to repeat every time.
Step 1: Rinse the Car First
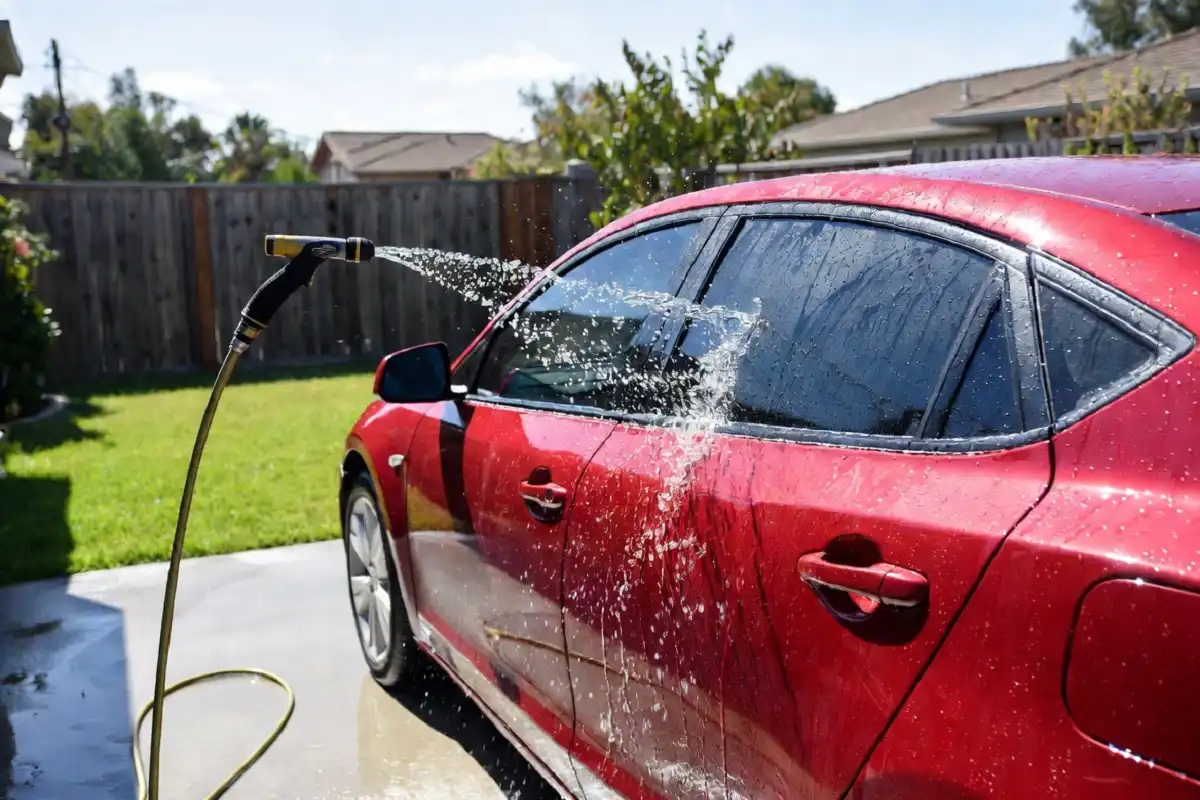
Always start with a thorough rinse using a hose or pressure washer. This removes loose dirt, dust, and debris before you touch the paint. Skipping this step is one of the most common mistakes people make. Rubbing dry grit into your paint is a fast way to create scratches.
Work from the top down. Roof first, then windows, hood, sides, and finally the lower panels where most of the road grime collects.
Step 2: Clean the Wheels First
Wheels are the dirtiest part of your car. Brake dust, road tar, and grime build up quickly. Clean them before the body so any splashback gets washed away during the main wash phase. Using a separate brush for the wheels keeps your paint tools clean throughout the entire job.
Use a dedicated wheel cleaner and a stiff wheel brush. Avoid using the same mitt or towel you will use on the body panels. Cross-contamination is a real issue when it comes to keeping your paint scratch-free.
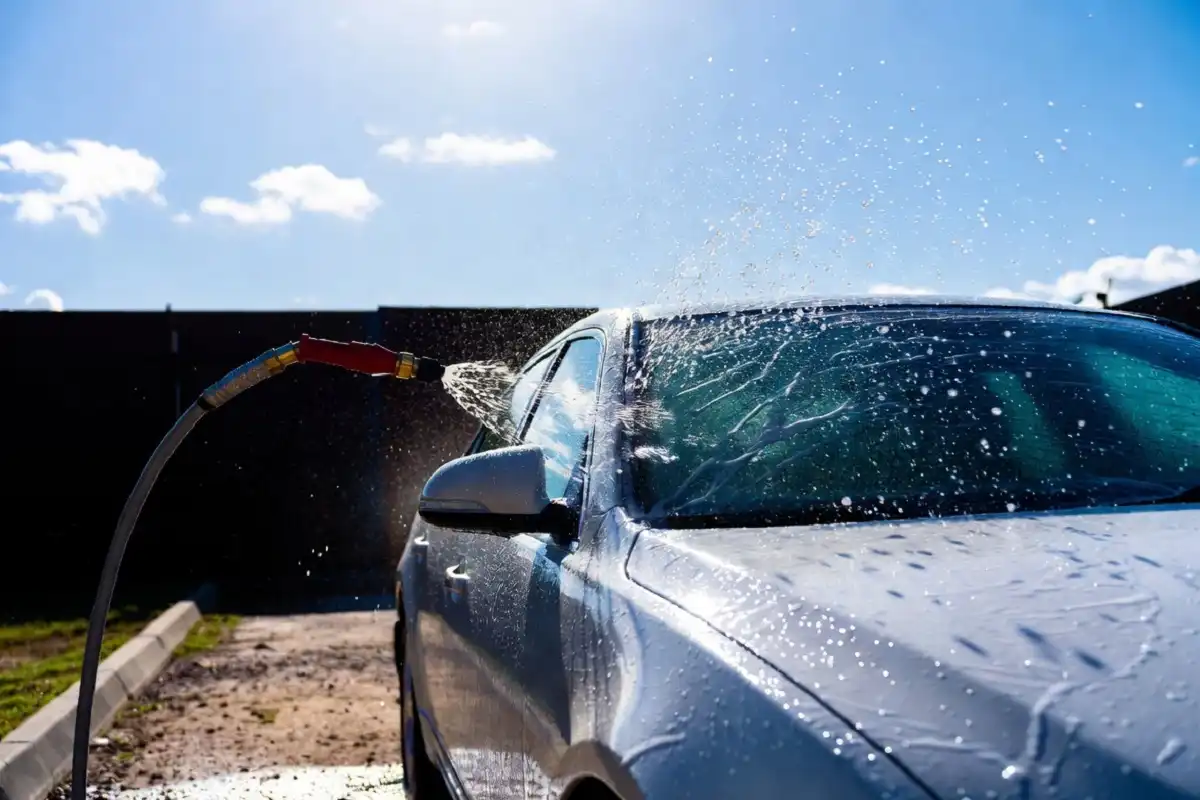
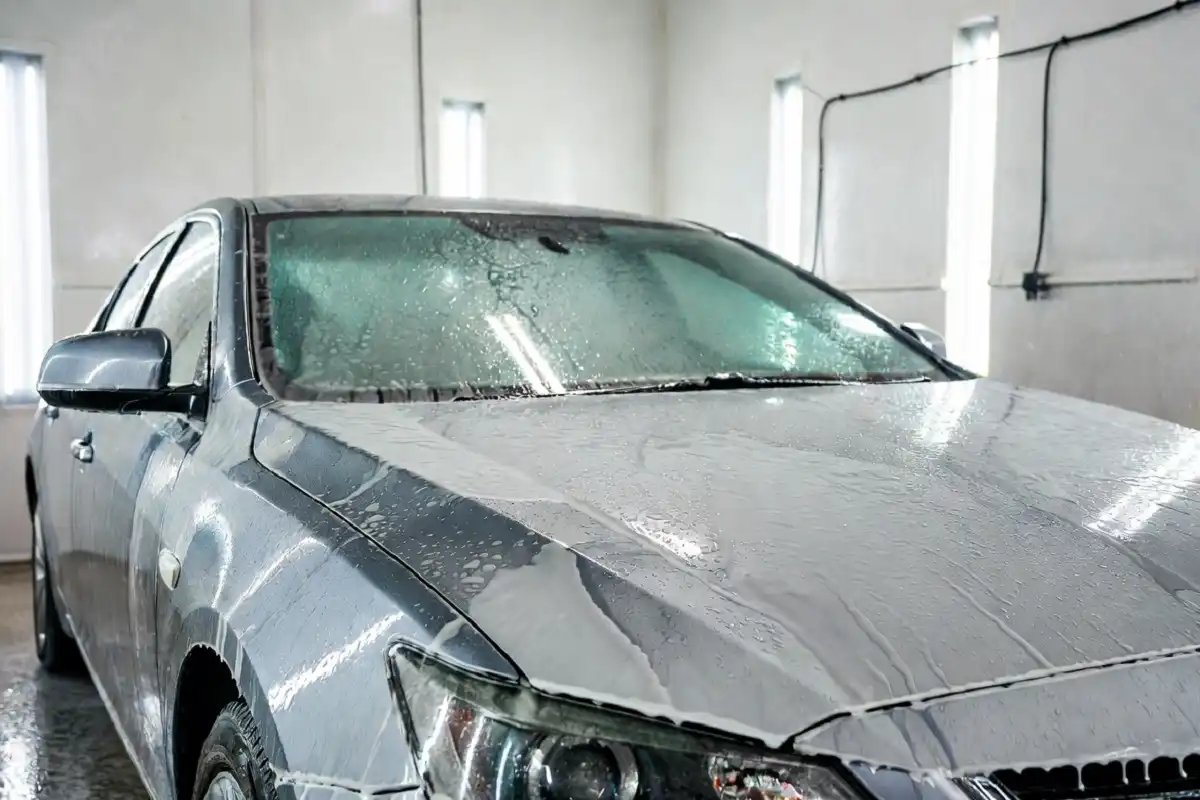
Step 3: Wash the Body Using the Two-Bucket Method
Fill one bucket with clean water and car wash soap. Fill the second with plain rinse water. After each panel, rinse your mitt in the plain water bucket before dipping it back into the soapy water. This keeps your wash solution clean throughout the process.
Work one panel at a time using straight, overlapping strokes. Avoid circular motions as these can enhance the appearance of swirl marks. Rinse each panel as you go so the soap does not dry on the surface.
According to the Car Care Council, washing your car regularly is one of the most effective ways to protect its resale value and maintain a healthy finish.
Step 4: Final Rinse
Do a complete rinse from top to bottom. If you have a nozzle that allows a sheet-flow rinse, this helps water slide off smoothly rather than bead up in pools. A thorough final rinse is a key part of any sparkling image car wash routine.
Step 5: Dry Immediately
Never let your car air dry. Water spots form quickly, especially in warm or sunny conditions. Use a large, clean microfiber drying towel and pat or drag it gently across the surface. Start from the roof and work down.
For a streak-free finish on glass, use a dedicated glass towel rather than the same cloth you used on the body.
Step 6: Apply a Finishing Product
Once the car is dry, apply a quick-detail spray or spray wax for added protection and shine. This final step is what elevates a basic clean into a true sparkling image car wash result. It adds gloss, repels water, and helps keep the surface cleaner between washes.
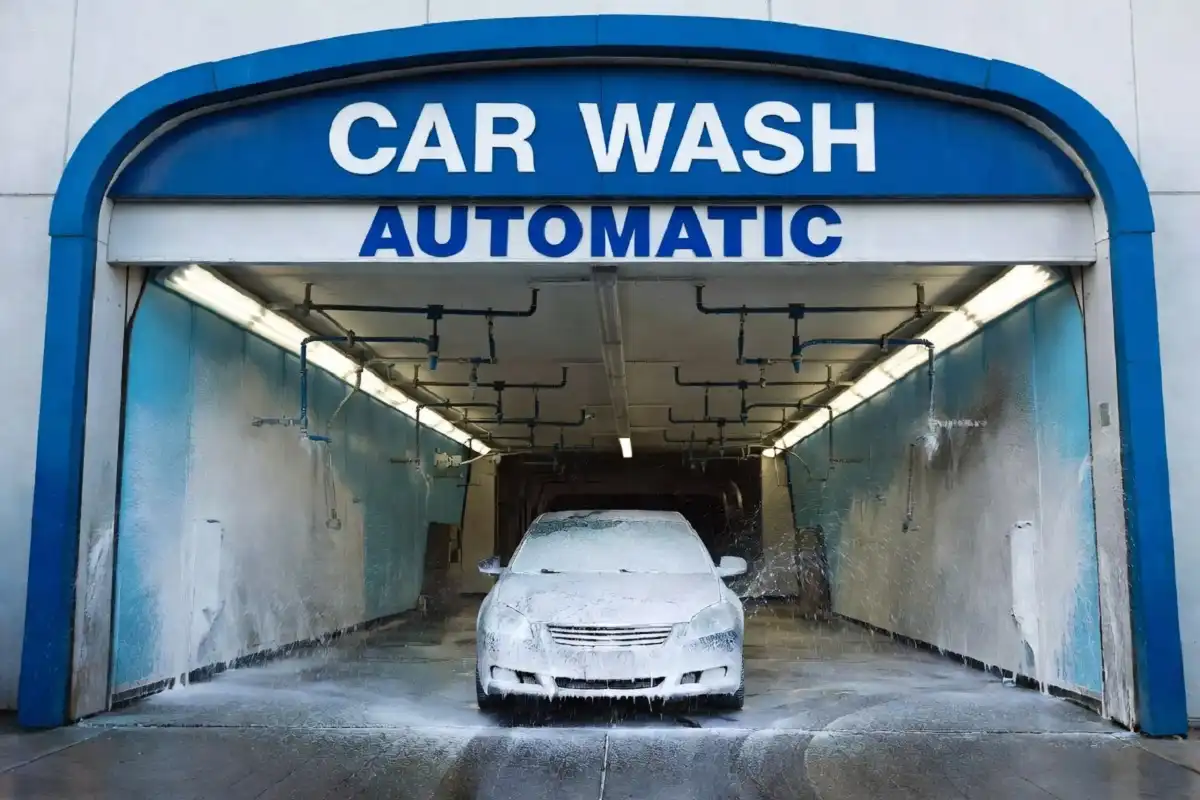
Professional Sparkling Image Car Wash Facilities
Some drivers prefer to leave the work to the pros, and that is a perfectly valid choice. A professional sparkling image car wash facility offers speed and convenience, especially for drivers with limited time or space at home.
When choosing a facility, look for those that offer:
- Soft-touch or touchless wash options
- Hand dry and interior wipe-down services
- Protective coating add-ons like wax or sealant
- Membership plans for regular visitors
If you are comparing your local options, the Autobell car wash guide breaks down what to expect from a larger professional chain, including services, pricing tiers, and value tips.
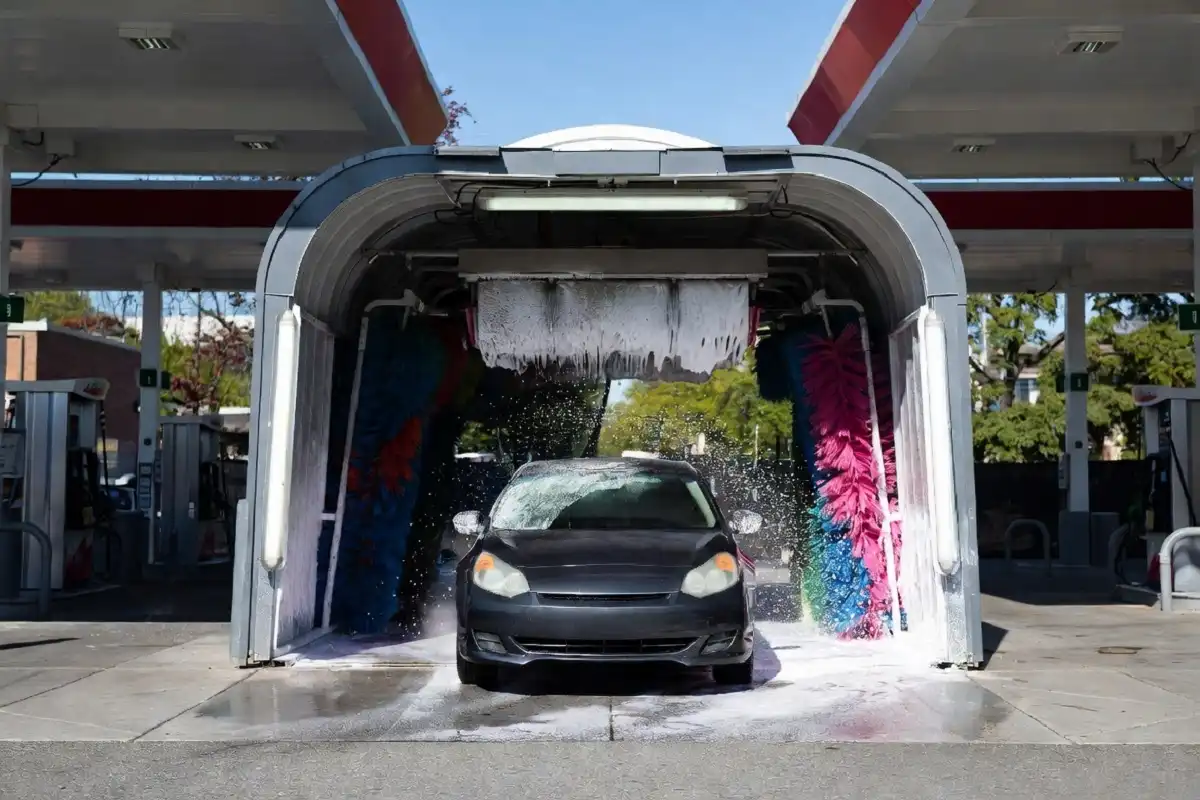
Some drivers also consider gas station car washes as a quick and affordable option. These can work well for light cleaning, though they rarely deliver the same level of finish as a dedicated professional visit or a careful home wash.
How Often Should You Get a Sparkling Image Car Wash?
Most cars benefit from a sparkling image car wash every two weeks. If you park under trees, drive in dusty conditions, or live in an area with road salt during winter, washing more often is a smart idea. Contaminants like bird droppings, tree sap, and industrial fallout can etch into the paint if left too long.
A consistent wash routine is one of the simplest forms of car maintenance. According to Consumer Reports, regular exterior cleaning can extend the life of your paint and reduce the cost of eventual detailing work.
Tips for Maintaining That Fresh Wash Look
Keeping your car clean between each sparkling image car wash is easier than most people expect. A few small habits go a long way toward maintaining that polished appearance.
- Park in the shade when possible to reduce sun damage and bird droppings
- Use a quick-detail spray after driving in light rain or dust
- Wipe down windows and mirrors with a clean microfiber cloth weekly
- Avoid parking near sprinkler systems, which leave hard water spots
- Check your car for tar or sap after long road trips and remove it promptly
If you are looking for the most convenient option, checking out free car wash options is worth your time. Some services, loyalty programs, and promotions let you get a solid clean without spending anything.
DIY vs. Professional: Which Approach Is Better?
Neither option is universally better when it comes to getting your car clean. The right choice depends on your priorities, schedule, and how much hands-on control you want.
DIY gives you full control over the products and process. You can take your time, use premium materials, and pay close attention to detail. It is also more affordable over the long term.
Visiting a professional sparkling image car wash is faster and requires no setup or cleanup on your part. It suits drivers who want consistent results without the effort.
Many car owners use both approaches. A monthly professional visit paired with weekly quick-detail sprays at home tends to deliver excellent overall results. You can also find solid guidance in this do-it-yourself car wash complete home guide if you want to go the DIY route with confidence.
FAQ
What makes a sparkling image car wash different from a regular wash?
It focuses on the full visual result, not just removing surface dirt. A sparkling image car wash includes proper technique, protective products, and a streak-free dry to achieve a polished, showroom-quality finish rather than just a clean one.
Can I get these results without a foam cannon?
Yes, you can. A foam cannon adds convenience and helps lift dirt before contact washing, but it is not essential. A wash mitt with good car shampoo in a two-bucket setup delivers excellent results on its own and still produces a polished, showroom-quality finish at home.
How do I avoid water spots after washing?
Dry your car immediately after rinsing. Never leave water to air dry, especially in direct sunlight. A large microfiber drying towel used in a single dragging motion works best for a spot-free, streak-free result.
Is it safe to wash a car in direct sunlight?
It is not ideal. Sunlight speeds up the drying of soap, which can leave residue and water spots. If possible, wash in a shaded area or during cooler parts of the day, such as early morning or late afternoon.
How long does a proper sparkling image car wash take at home?
A thorough home wash typically takes between 45 minutes and 90 minutes depending on the size of the vehicle and how much attention you give to wheels, glass, and finishing steps.
Should I wash my car before applying wax or sealant?
Always complete a full sparkling image car wash and dry your car thoroughly before applying any wax or paint sealant. Applying protection over dirt or contaminants traps them against the paint and can cause more harm than good.
Conclusion
Getting the job done right is about following a consistent process from start to finish. With the right tools, a clean technique, and a few protective steps, you can keep your car looking sharp between professional visits or as your primary cleaning routine. Consistency matters more than perfection. A good wash every couple of weeks, combined with quick maintenance in between, will keep your vehicle’s exterior in great shape for years to come.